Many Third Generation Prelude owners have used Urethane to fill their motor mounts. Several people have complained that the filled mounts are too solid. Engine vibration is transferred to the body of the car, making it very uncomfortable to ride in.
From what I understand, everyone fills their motor mounts to the maximum with Urethane. It's simply overkill unless you are building a car strictly for the track. Here's my take on it, and a solution to this problem. Don't fill the whole mount.
Materials:
- 3M Window Weld Urethane (Autozone)
- Caulking gun
- Carb and Throttle Body Cleaner
- disposable gloves
- old, crappy shirt
- motor mounts
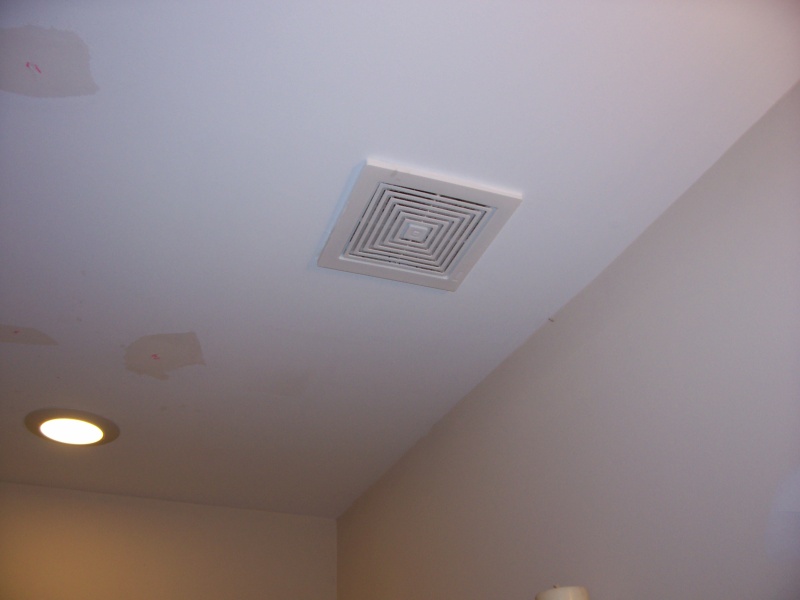
- bathroom with ceiling vent, bathtub
- small 115v room heater
- a work area you can get dirty
- isopropyl alcohol for cleanup
- rag
- 17mm socket and ratchet or equivalent
Step 1
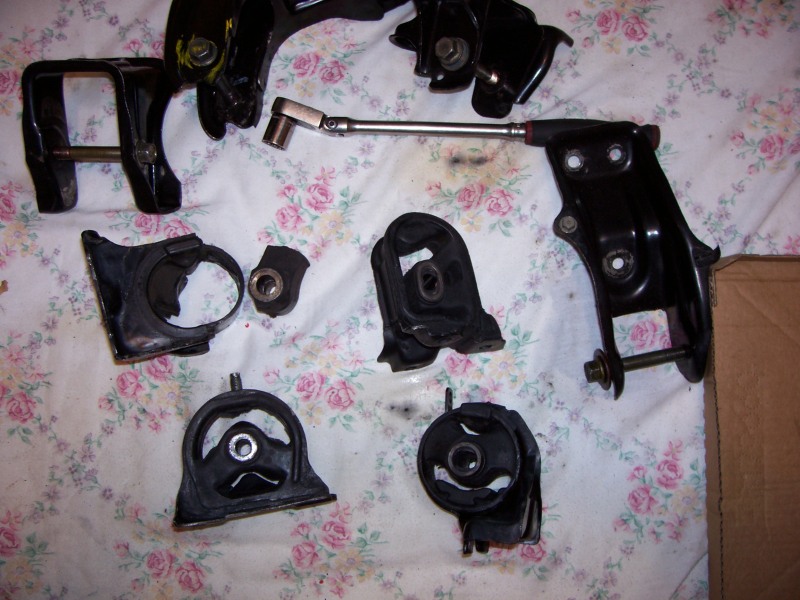
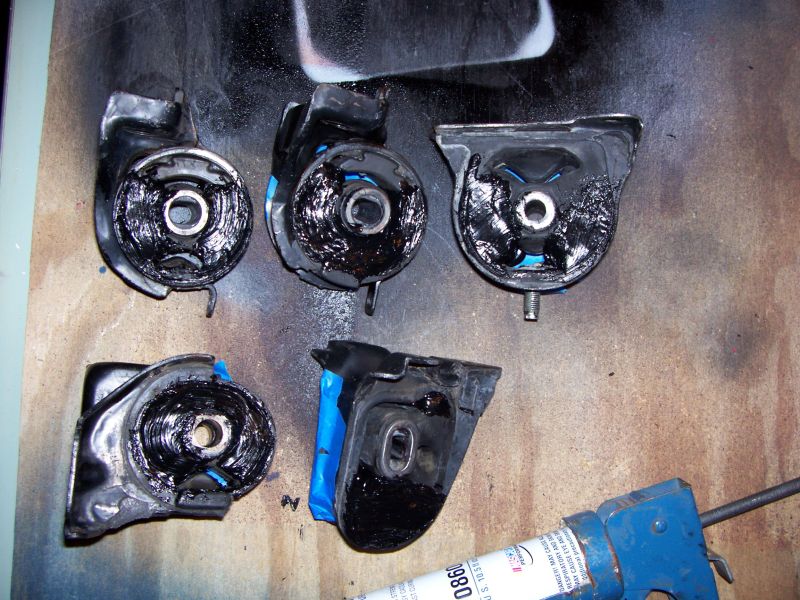
Remove the mounts from the car, safely. Maybe buy 4 junkyard mounts. Be prepared to wait at least 3 days for drying, so don't leave the engine hanging from a hoist.
Disassemble the mounts and clean them with spray. I used carb and throttle body cleaner. Just soak them and then blast the crap from the rubber part. A dark liquid should result.
Step 2
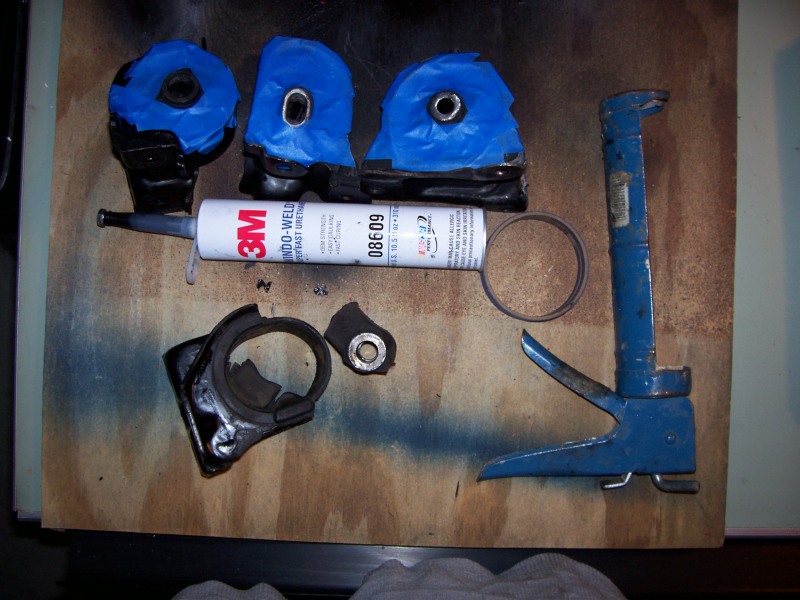
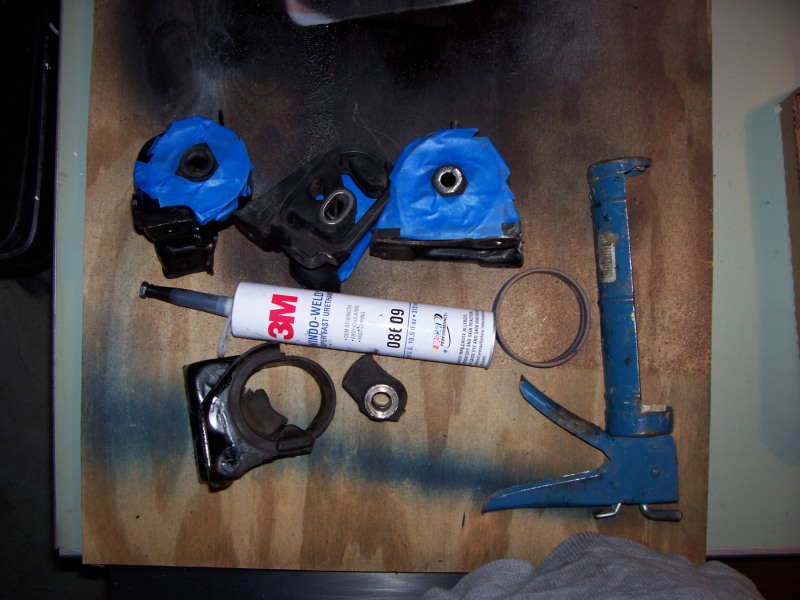
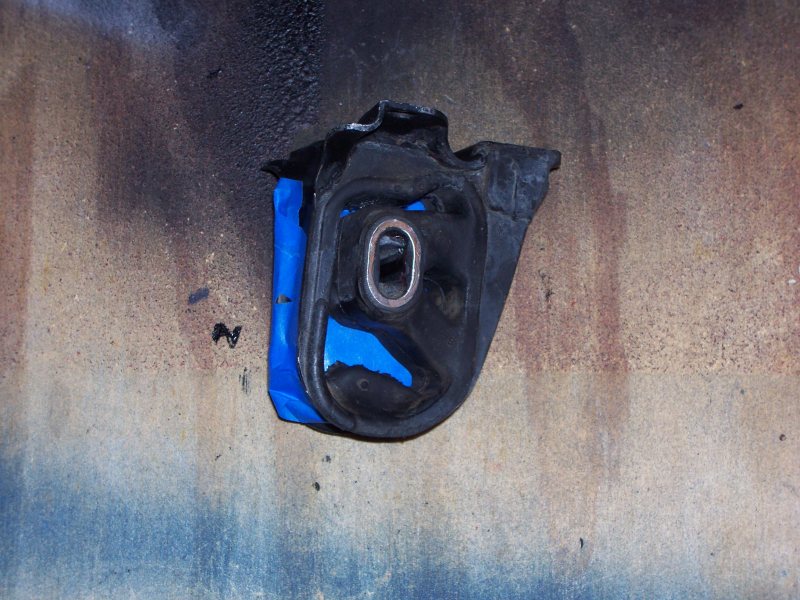
Tape the mounts on one side. Cover the entire thing in tape, where you like it or not. I had one mount that was in pieces so I did not tape it yet. You will understand why in a moment.
The busted mount.
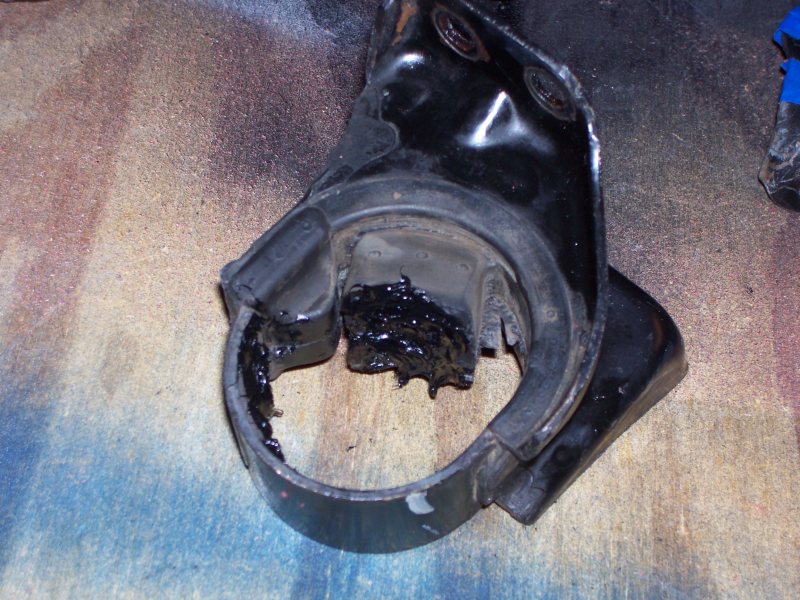
I coated the edges of the rubber piece where it was broken. This, alone, is not a fix. Now that is done I can tape the back. No need to dry it until it's all done.
Step 3
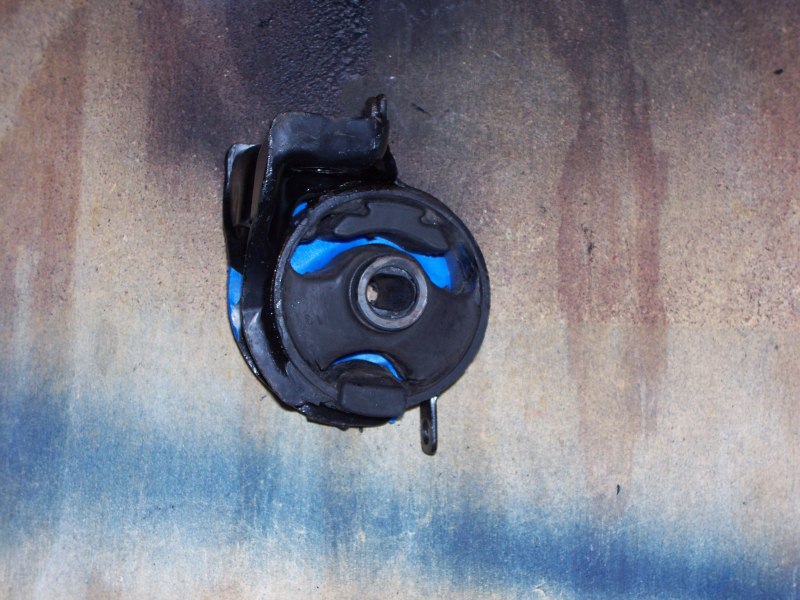
Analyze the mounts for a moment. You are not filling the whole mount. Decide what needs to be filled. Think about how the engine will rotate during a hard takeoff. Also, consider what section of the mount will cause the most vibration if filled.
Simply put, do not fill the bottom section.
Here is what the mounts look like:
Once you know how you want to do this, proceed to the next step.
Step 4
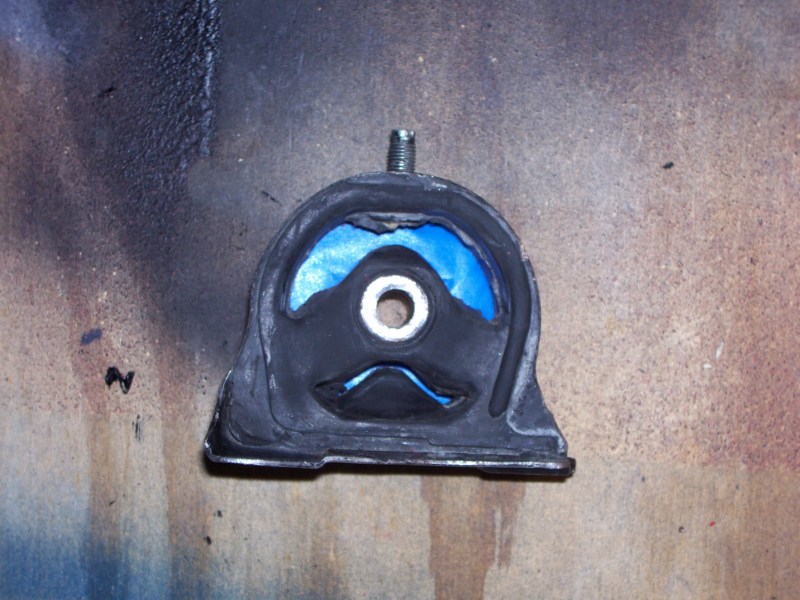
The messy part. Put on your gloves and shirt, lay out the wood or cardboard, and load the Urethane. Stick the syringe in the mount against the tape and fill. As you fill, slowly move the syringe up to the top, away from the tape. This ensures an even fill without air pockets.
Mounts should look something like this:
Notice I did not fill the area directly under where the through-bolt goes.
You can use a paper towel or something to smooth out the Urethane on top. Leave the tape on for a bit.
Step 5
The Urethane must dry. Heat them for about 6-8 hours immediately after filling. Temps can be from 100*F to 180*F, more heat for less heating time. I stuck them in a bathtub with a heater blowing on them.

Also, remember the Urethane will release a toxic, air-bourne chemical as it dries. You will need a ceiling vent in your bathroom. And close the door.
After heating for 6-8 hours, you must let the Urethane cure. It will be soft on the surface, but still fluid underneath. Don't push on the dried surface, or it will squish and burst, introducing air pockets and other problems.
Remove the tape.
Give the mounts minimum 3 days to dry at room temperature.