Rear Rack Install
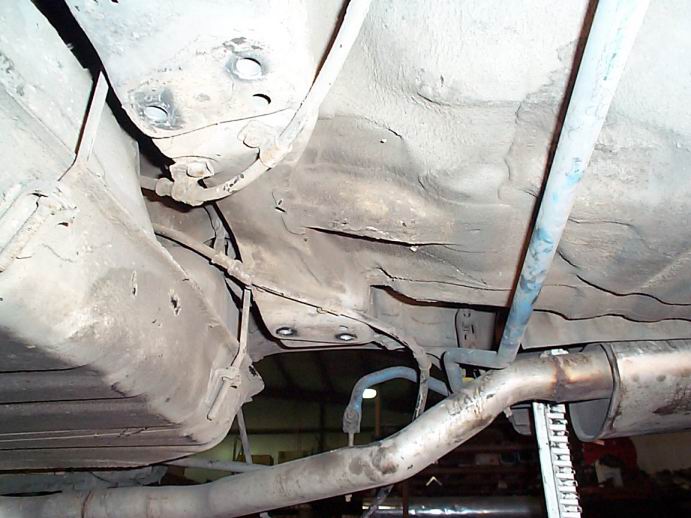
Cut out the following portion of the chassis. You can use a cut off wheel, plasma cutter, etc. You could also probably drill out the spot welds and remove it that way:
Finished product:
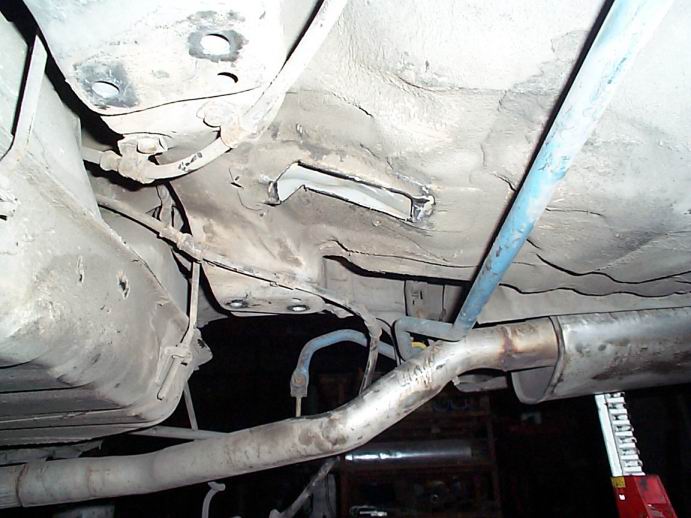
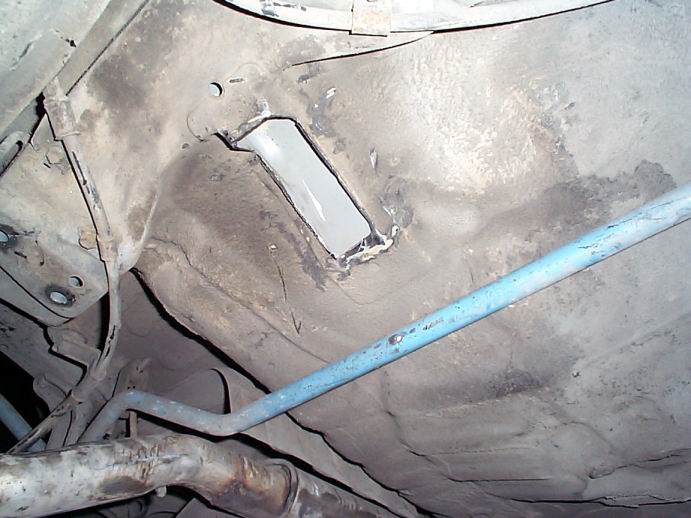
Removing this section of the chassis allows the 4WS gearbox to fit.
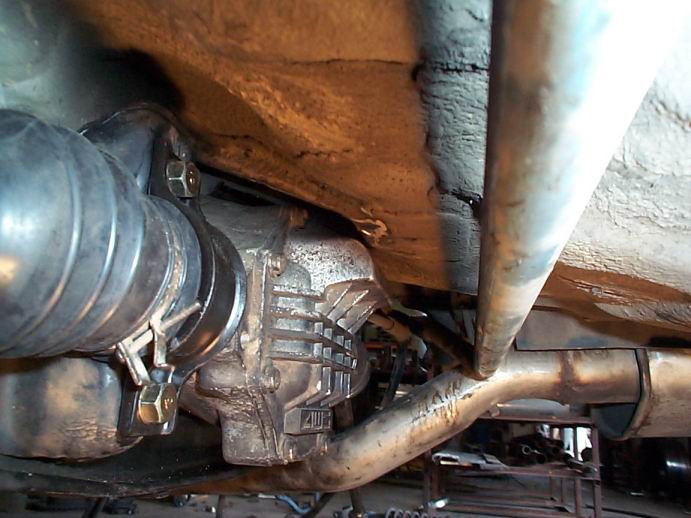
Install the 4WS gearbox onto the rear subframe if it isn't already.
Try and guide the distribution shaft U joint onto
the 4WS rack spindle as you lift it up and into position. It may be easier to temporarily detach the distribution shaft from the front then pull it back a few inches for more room to work with:
Once the distribution shaft in splined onto the 4WS gearbox install the 10mm bolt that clamps the U joint onto the splines.
Then install the 4 large 17mm bolts that hold the subframe onto the chassis:

Install the A.L.B. wiring brackets onto the subframe if you have them.
Move the lower control arms into position and attach them to the subframe using the special cammed bolts. Set the bolts to the 12 o'clock (centered) position before tightening them down.
Attach the 4WS gearbox tie rods to the rear knuckles just like the 2WS toe arms were see the online manual for torque specs.
Next section: After the Install