Making Clear Corners For 88-89 Prelude
By: MustardCat
![]()
Link to this page:
Foreword: The biggest thing that kept me from trying this before was that fact that my lude is also my daily driver and I didn't want to risk screwing up my only set of turn signals, well finally I made myself do it! If you follow my instructions you don't have to worry, it's not all that hard and the result is a much more clean looking 3rd gen front-end. I hope this write-up helps you when you make yours.
Stuff I used:
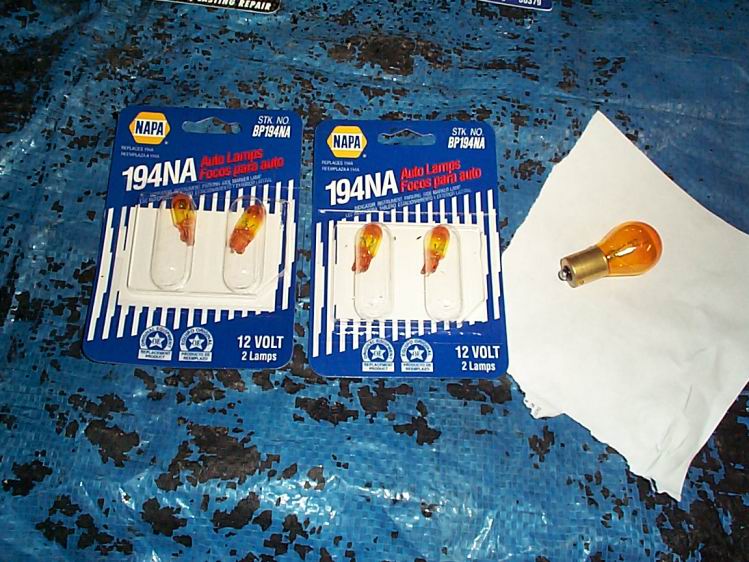
New bulbs 2 small ones and 1 big one on each side of car. (Optional only if you want to stay legal, get them at your local automotive store)
Safety goggles (Lowes, Eagle, Ace Hardware)
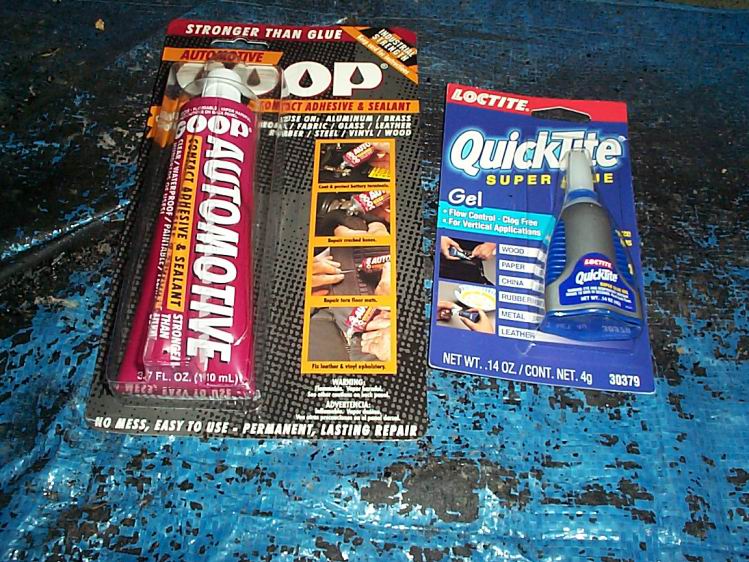
Super glue (Hardware store)
Silicone sealant or that automotive goop that I got (Hardware store)
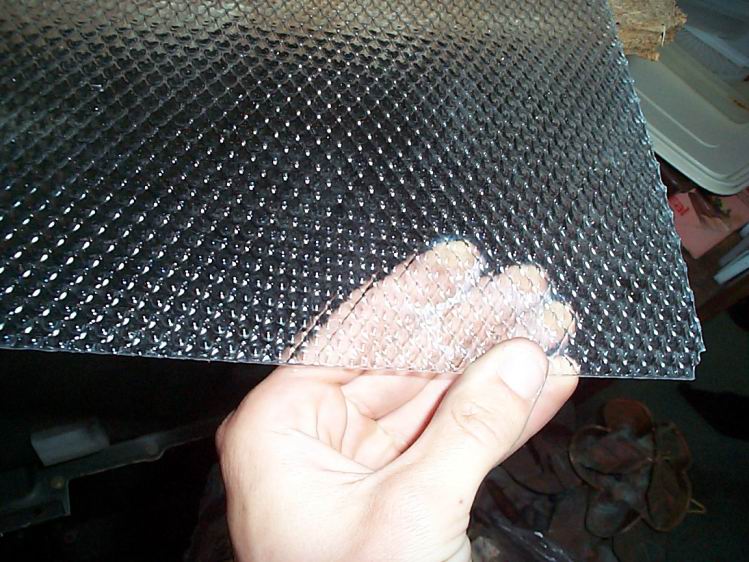
Ceiling light panel cover, or plexiglass (Hardware store)
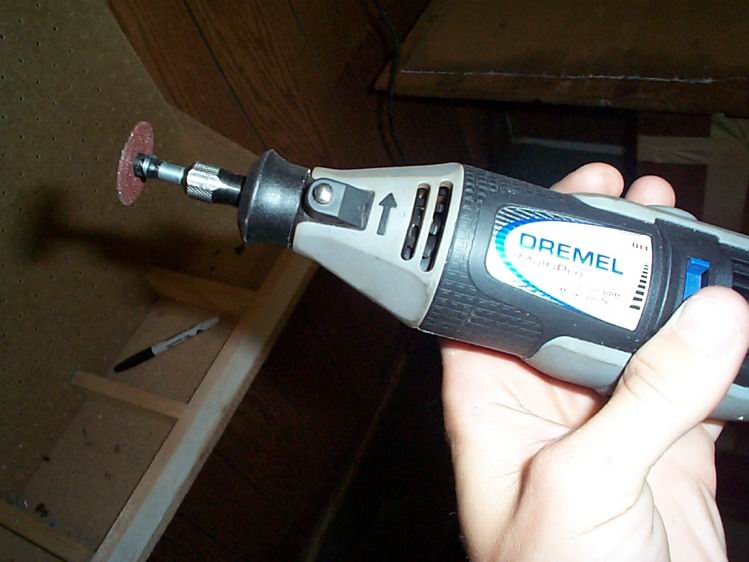
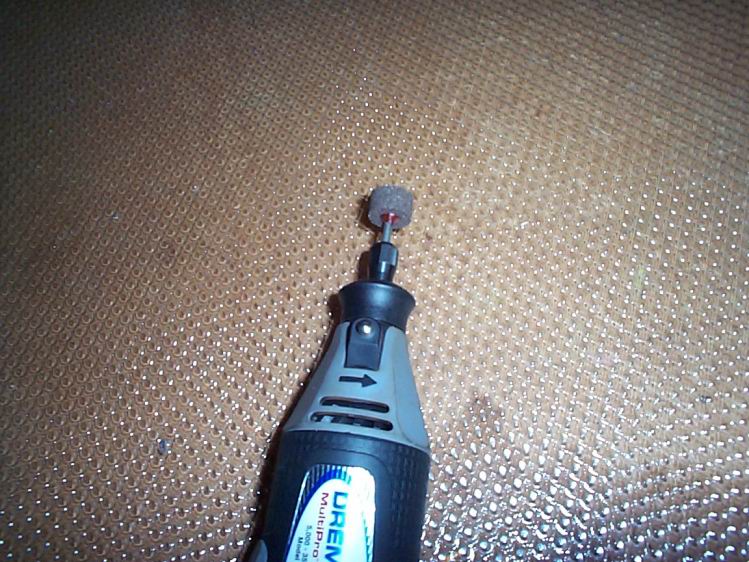
Dremel tool (Optional but can be useful. If you don't use this get a soldering iron or something made to cut the plastic light panel)
Electric sander (Buy one at a hardware store or barrow one if your cheap like me)
5 sheets of 60-grit and 3 of 80-grit sandpaper (Hardware store)
Heat gun (Optional you can make them without it but it helps)
Soldering iron (Optional)
Runner bands
A marker
Mid-sized flathead screw driver
Hammer
Needle nose pliers
Some silver paint (Optional)
Some white paint (Optional)
Ok before you start this project make sure you you have time to complete it! If you get rushed quality is bound to suffer somewhere. Give yourself a day to get the things you need and complete it, in reality it can be done much quicker but its better to get it right the first time.
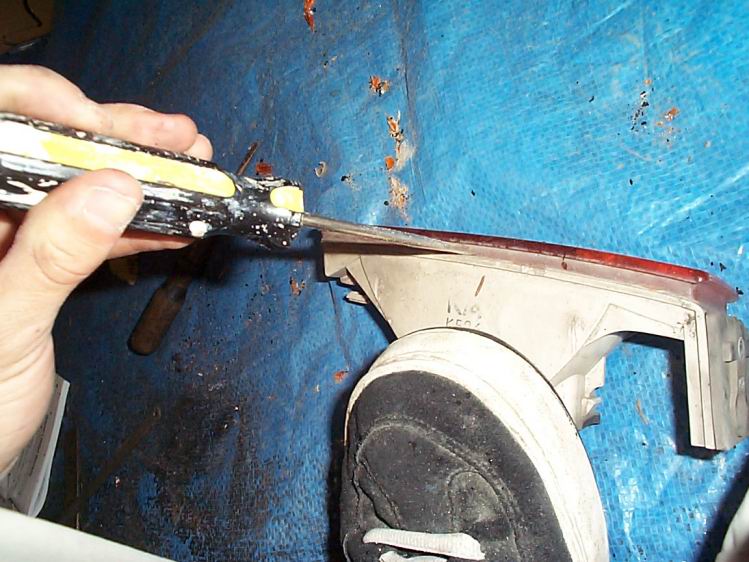
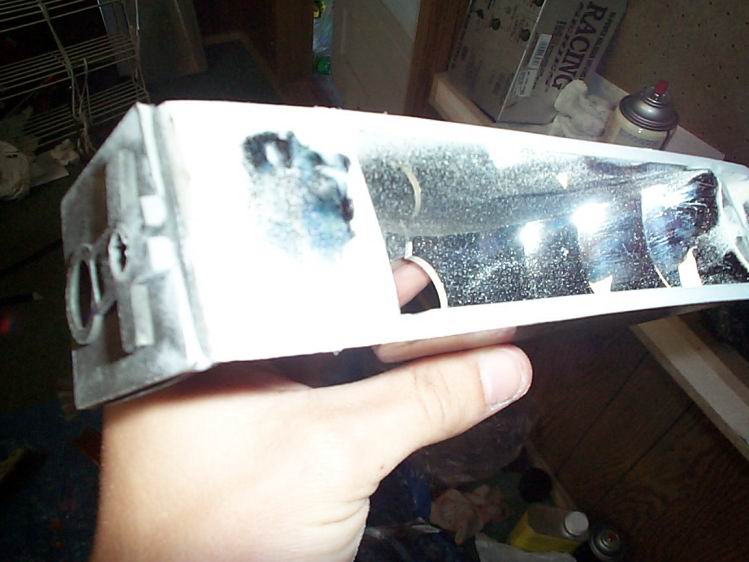
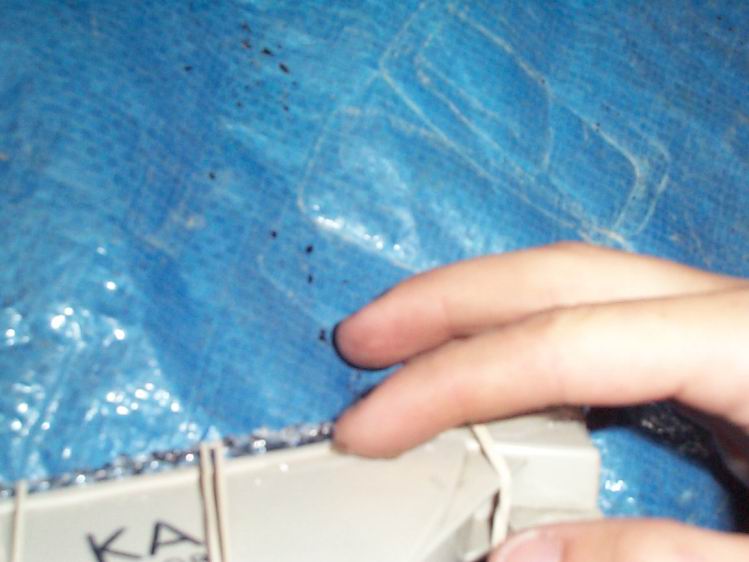
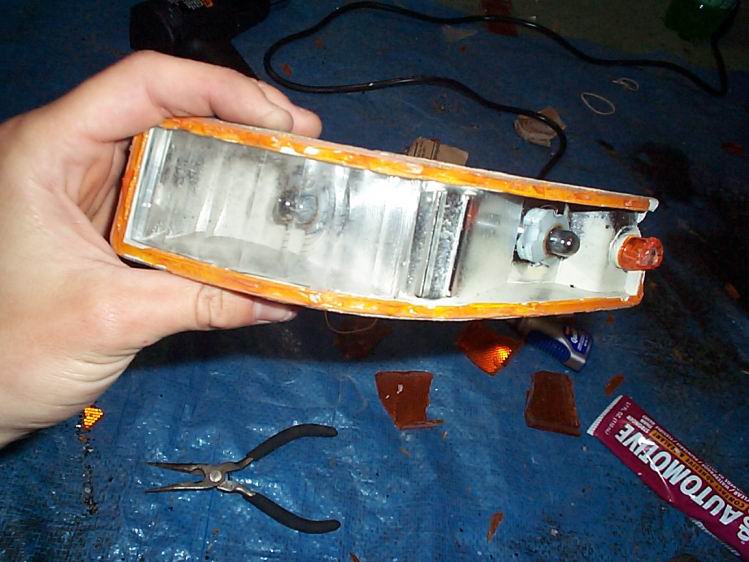
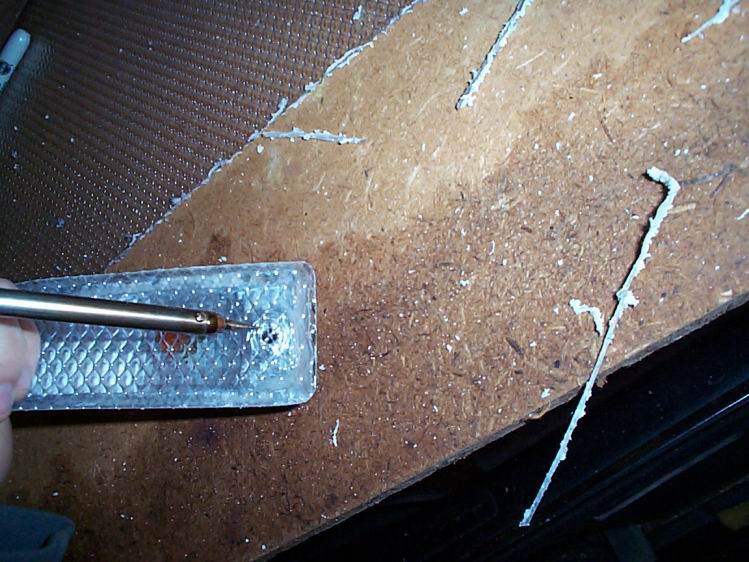
First take off your turn signals mine had several chips in them and were pretty crappy. Start with your flat turn signals take the flathead screw driver and set it right next to where the plastic meets the white housing like in the pic. Then start hitting the top of the screw driver with a hammer. It will start chipping the edge off go all the way around the signal like this.

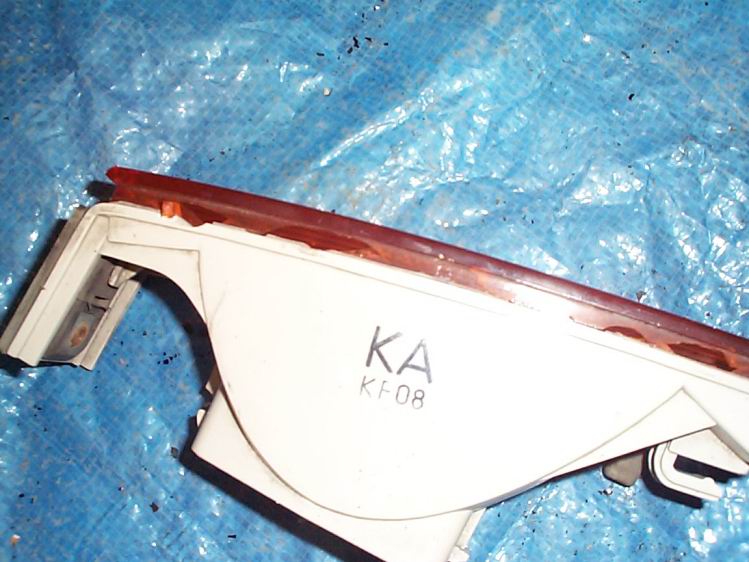
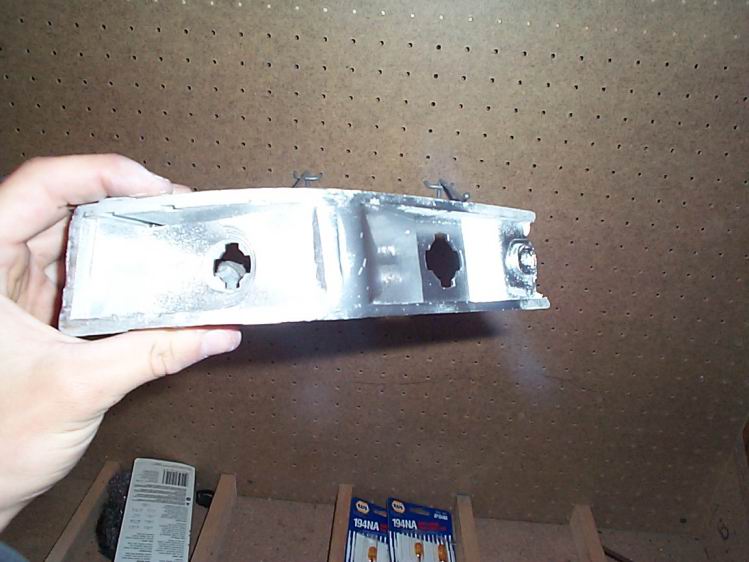
Once you get it off you should have something that looks like this:
(I hear the 88 Preludes don't have silver in their signal housing?)
Use the needle nose pliers to break off as much of the remaining orange plastic as you can. You can also use a Dremel tool to cut it off, up to you.
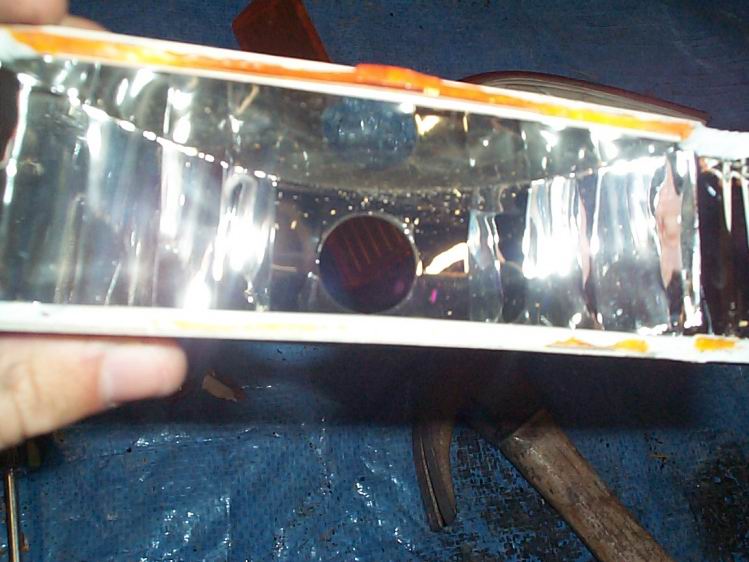
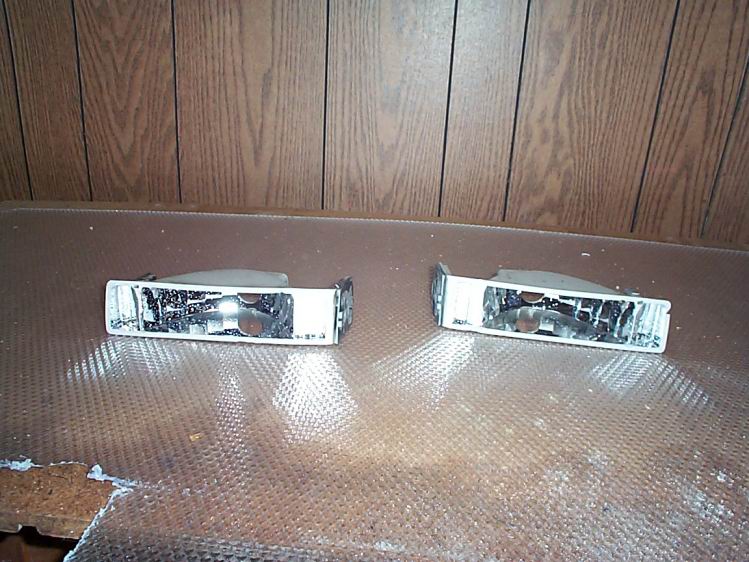
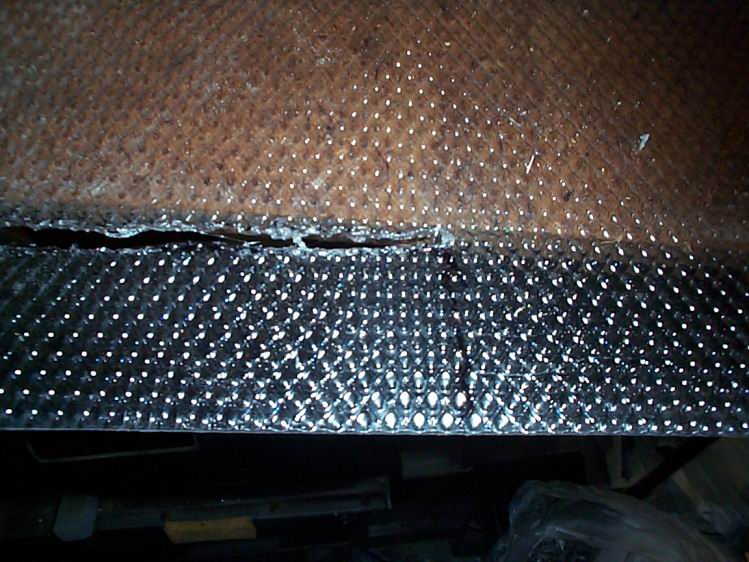
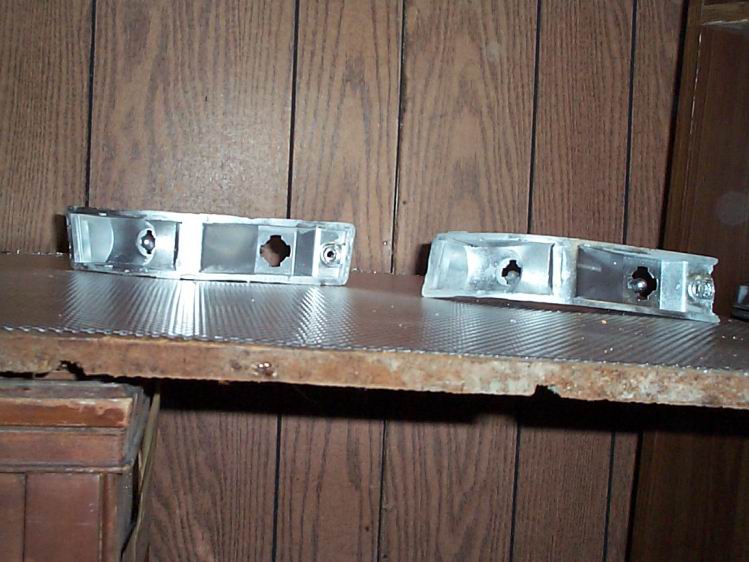
Once you have broken off as much of the plastic as you can get the electric sander and put on some 60-grit paper and sand the orange off. Make extra sure you get all the orange off. Once your done you should have something that looks like this:
Now do the turn signal from the other side of the car the same way. After they are both done take them out to the hose and spray out all the dust really good.
(Letting them dry a little)
Take one of them and set it flat on the plastic and draw a outline around it, make the line longer and wider than the housing itself.
(I managed to get the plastic off the signal without breaking it in half so I just used it for the outline, it's hard to see in the pic but the outline is bigger than the actual signal itself)
Now you need to cut out the plastic my first try I used my soldering iron to melt it but later I just used my dremel tool to cut it
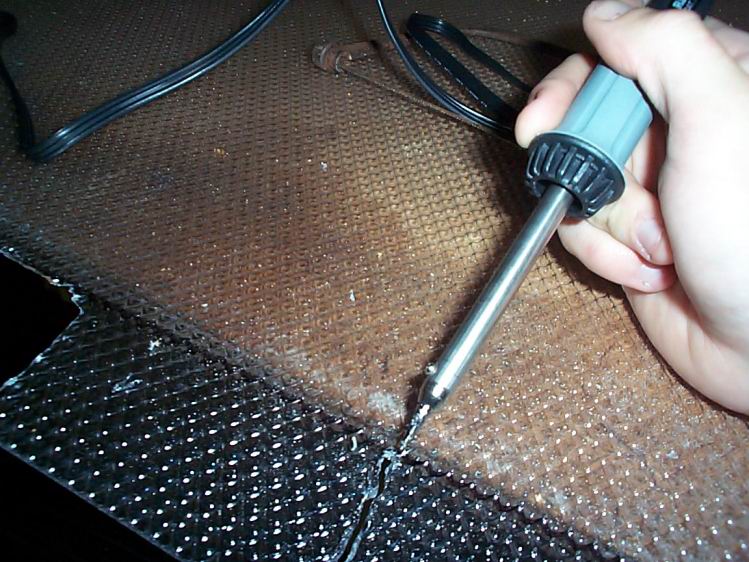
(If you use the dremel keep it on a low-speed setting so the plastic doesn't melt and get wound around the blade part)
Once I got it cut off I held it to the signal to get a feeling of how it should turn out.
Before you glue any of the plastic pieces on make sure and clean the side that will be facing inward so you don't have finger prints or other crap on the inside. Now take the super glue and put it all the way around the edge of the signal. Then take the plastic you cut off and put it on top of the glue. Then wrap rubber bands around the signal to hold the plastic in place.
Once the rubber bands are on take out the silicone sealant or auto goop and start spreading it around the out side edge.
(I just used my finger to spread it)
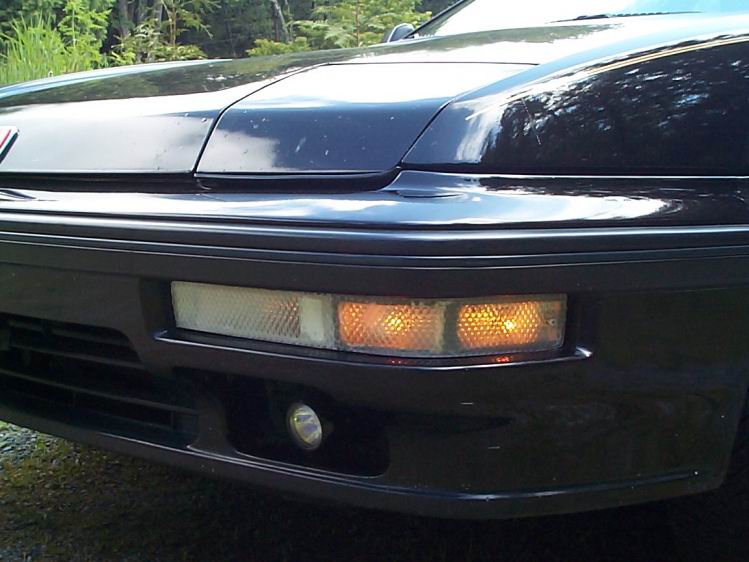
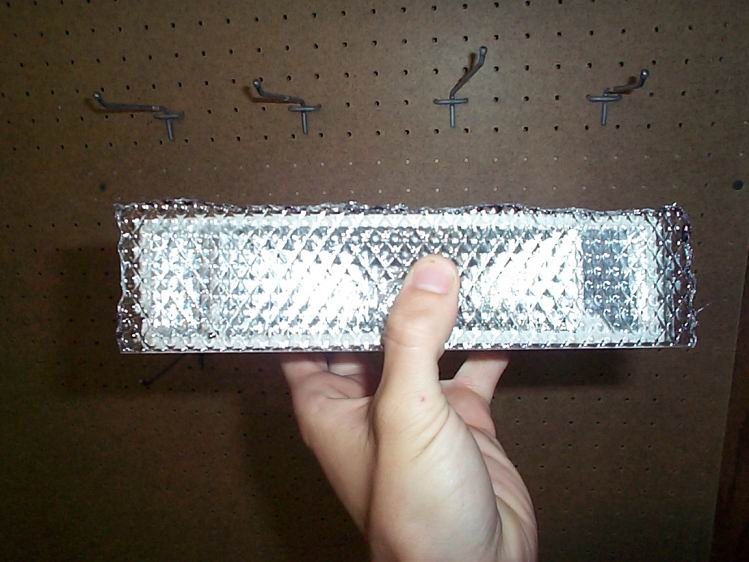
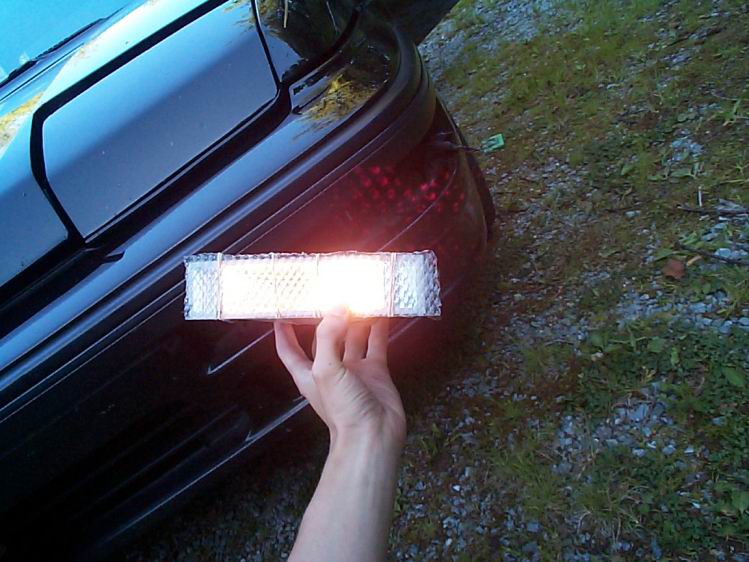
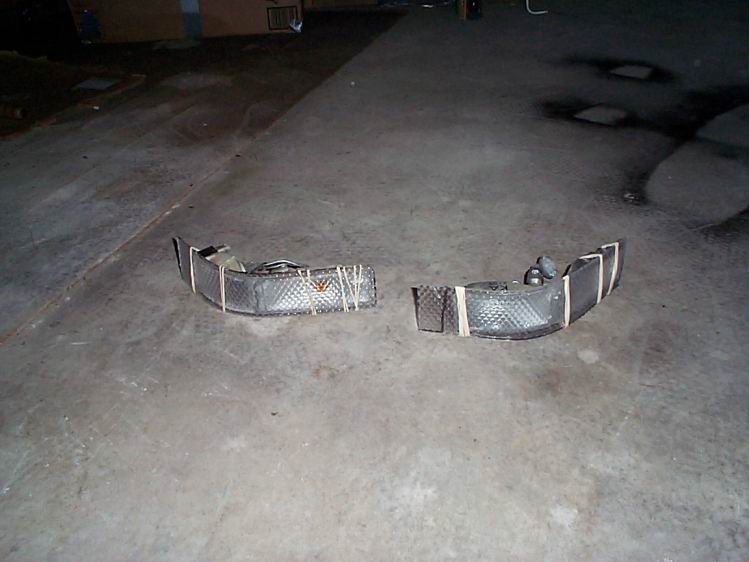
Do this to both signals and then set them some place to dry. I hooked mine to the car real quick to see how it would look. The last pic is once they dried it wont take very long.
Once they have dried for a while take off the rubber-bands and use the sander and 80-grit paper and start shaping the outer-edge of the plastic to fit into the space in your bumper. You will probably have to make several trips between the sander and car to get them just right. If it doesn't feel like it wants to slide in the space don't force it, you might break off the plastic. Just take it back to the sander and sand a little more.
(Just right)
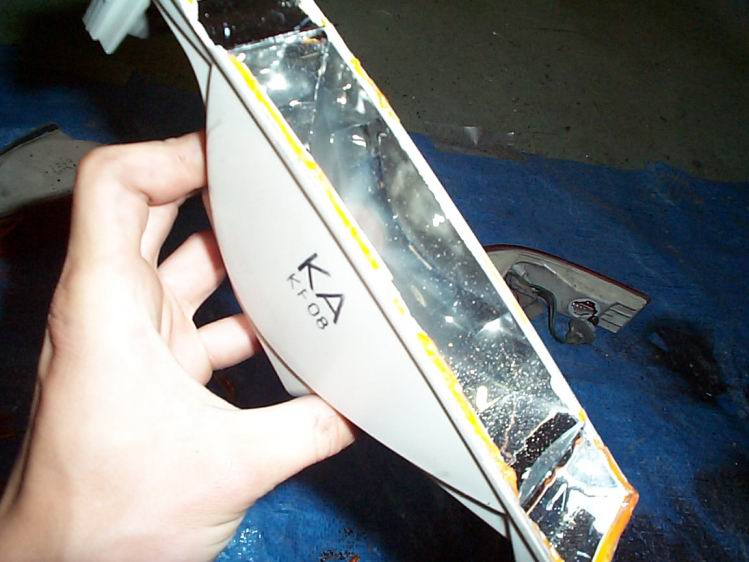
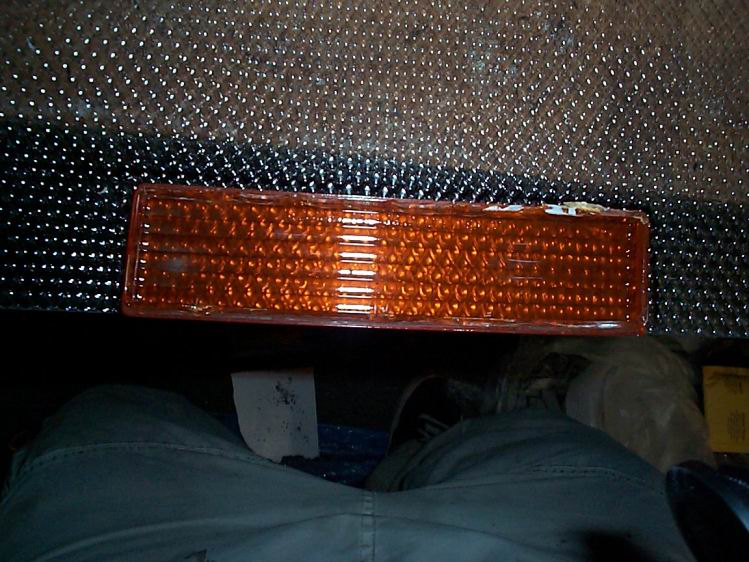
Ok now you can start on the ones that bend, break off the plastic like before it will probably be hard to get off the orange plastic where the screw went in. You also need to break off the clear plastic covering the left bulb. Do this with both sides.
(If you look closely you can see that only parts of the inside are silver so I just got some spare silver paint and sprayed the inside)
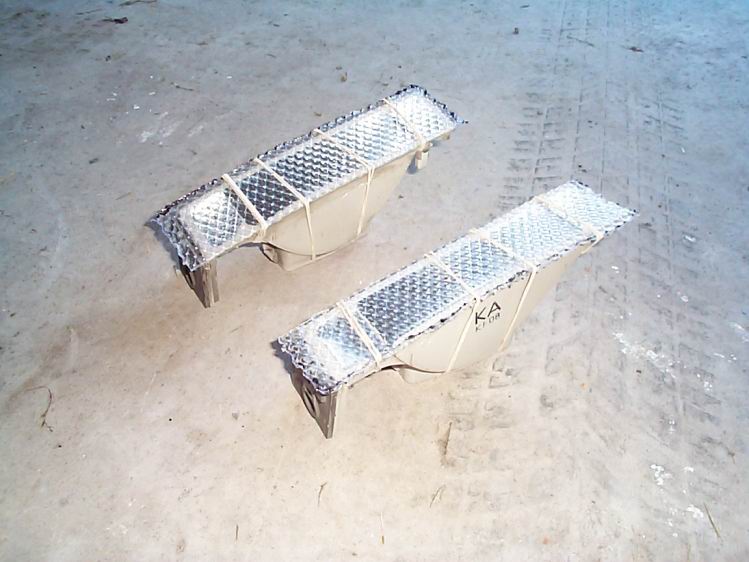
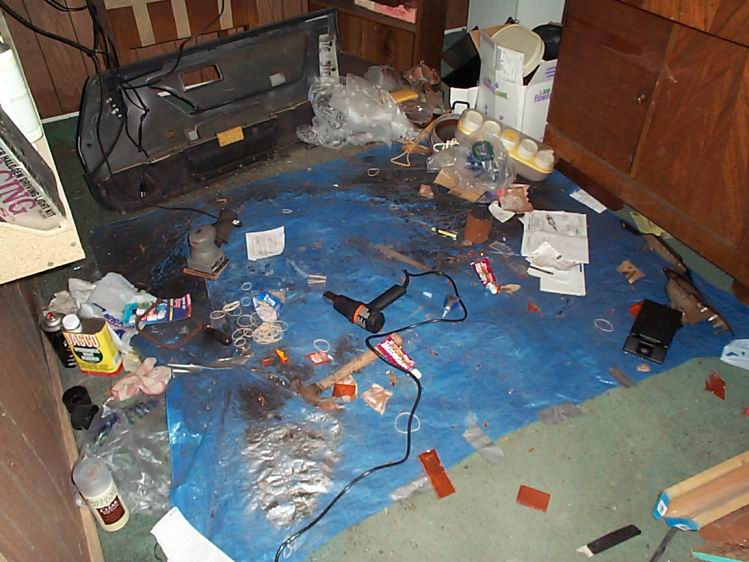
My workspace so far:
Now use 60-grit sand paper and take off the orange around the edge ESPECIALLY if the is any paint on the edge because the glue WONT stick to it and its a major pain. (Trust me)
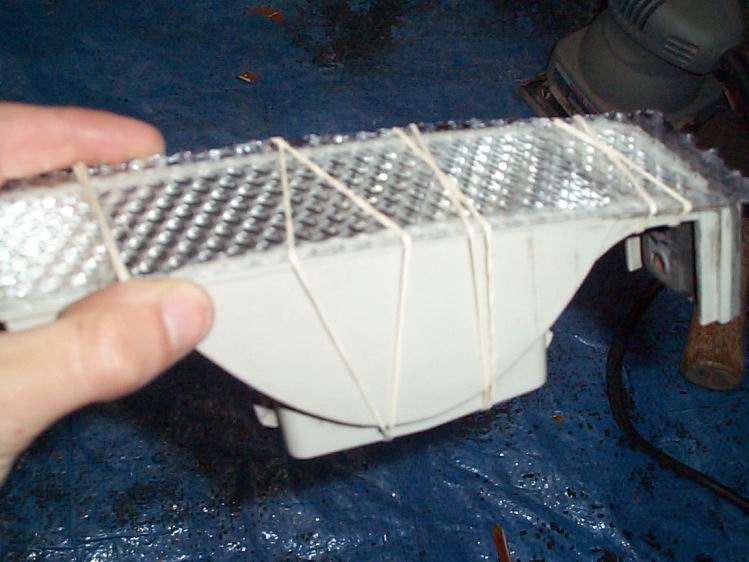
Once the edge is all sanded you need to cut out more plastic this time make it much taller and longer than the first ones you cut out. Now get out the super glue and glue the plastic onto the long flat edge like before and rubber band it. Once its dried a little its time to use the heat gun to heat the plastic so its easy to bend around the curve, it doesn't have to match the curve exactly just bend some. If you don't have a heat gun you can just bend the plastic around the curve but it will want to pull away and it might be hard to glue.
Ok now you should have it all glued and held on with rubber-bands don't forget to go around the edge with the goop to water proof it and hold it together better. Let them dry for a while.
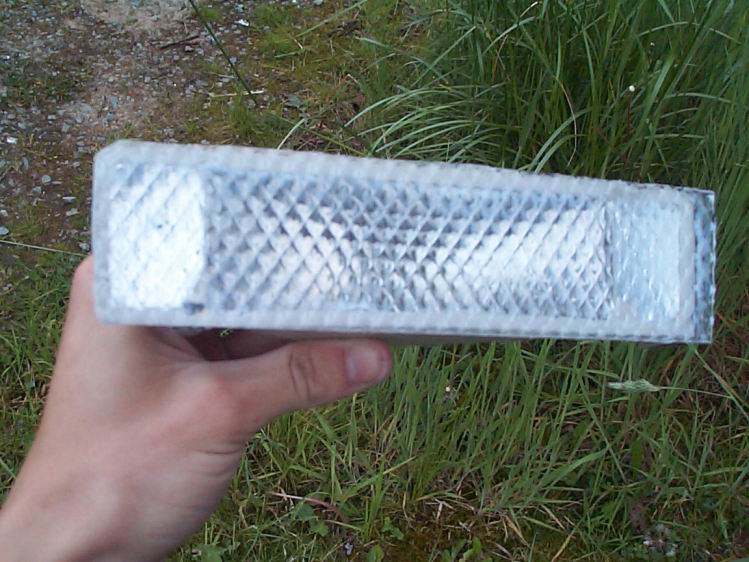
(See in the pic how the plastic sticks out from the signal at the end? You want it like that)
Once they are dry use the 80-grit sand paper and shape it like before, you want it just big enough to not leave any gaps once you fit it into the space in your bumper. That extra lip on the signals is supposed to overlap the signals you did earlier so there is no gap between the signals. You will understand once you start fitting them into the bumper.
To make the hole for the screw I just used my soldering iron to melt one, you could probably use a drill but I was worried about cracking the plastic.
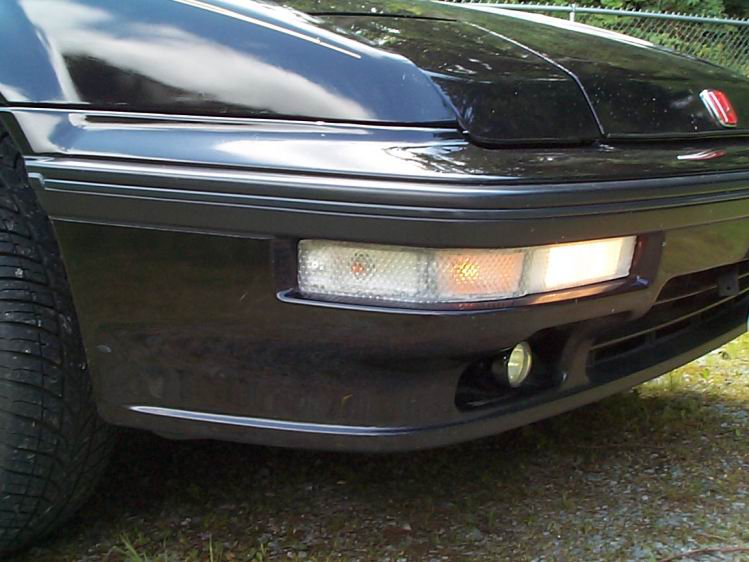
That's it! The last thing I did was use some spare white paint and painted the screw so it wouldn't stick out against the signal. Also be careful when screwing them in if you screw it too tight you can crack the plastic!
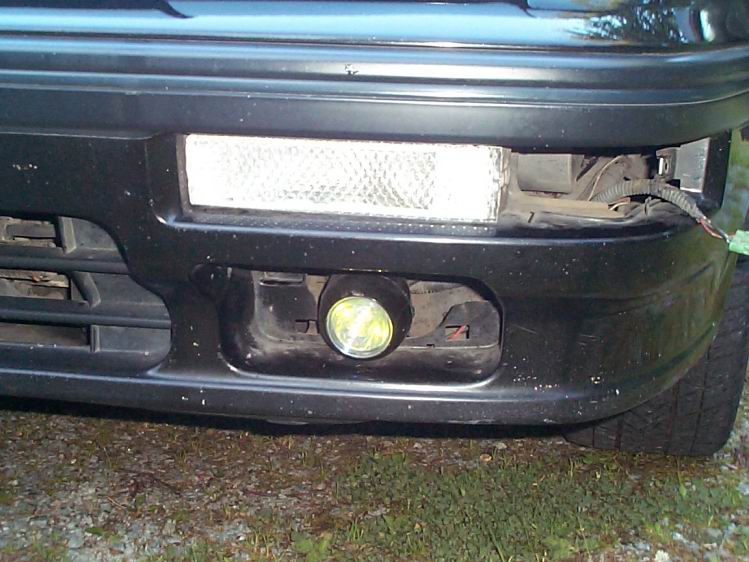
Conclusion: I like! This really cleans up the front-end of the Prelude.
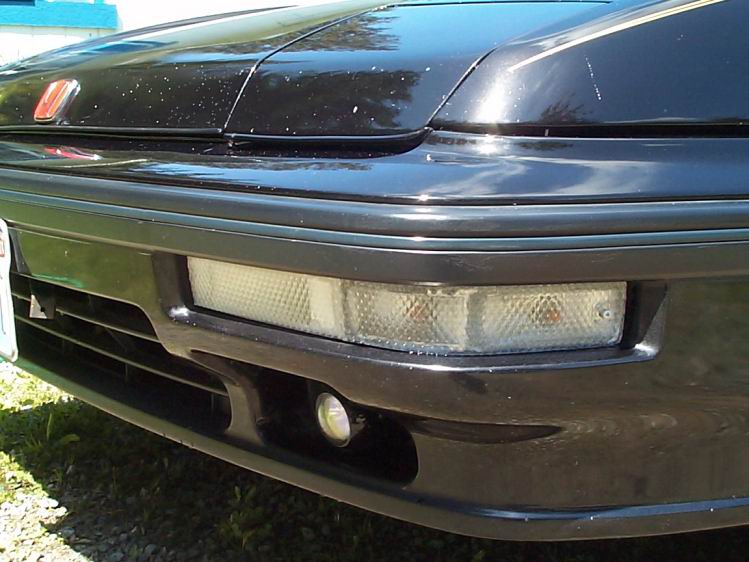
Misc. pictures: