Since I couldn't find any help on how to do this by searching, I figured while I was doing it I'd show others how.
Obviously, you'll need the B20 intake manifold, IAB spacer plate, plenum and fuel rail. You'll also need an IAB compatible ECU. Other parts you will need are shown below. I actually found these parts at a junk yard for $20. They came off of an early 90's Accord.
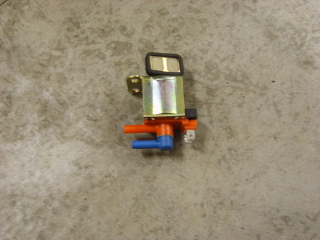
This is the solenoid that controls the IAB butterflies. This solenoid is located in the box on the passenger side firewall (with the MAP sensor, etc.).
This is the vacuum tank, hoses, check valve and solenoid(previously pictured). Make SURE to get the check valve! At the same time it'd make things easier if you clip the wires to the solenoid so you can take the two connectors, which I didn't.
That's all the part's you'll need. Now onto putting it all together!
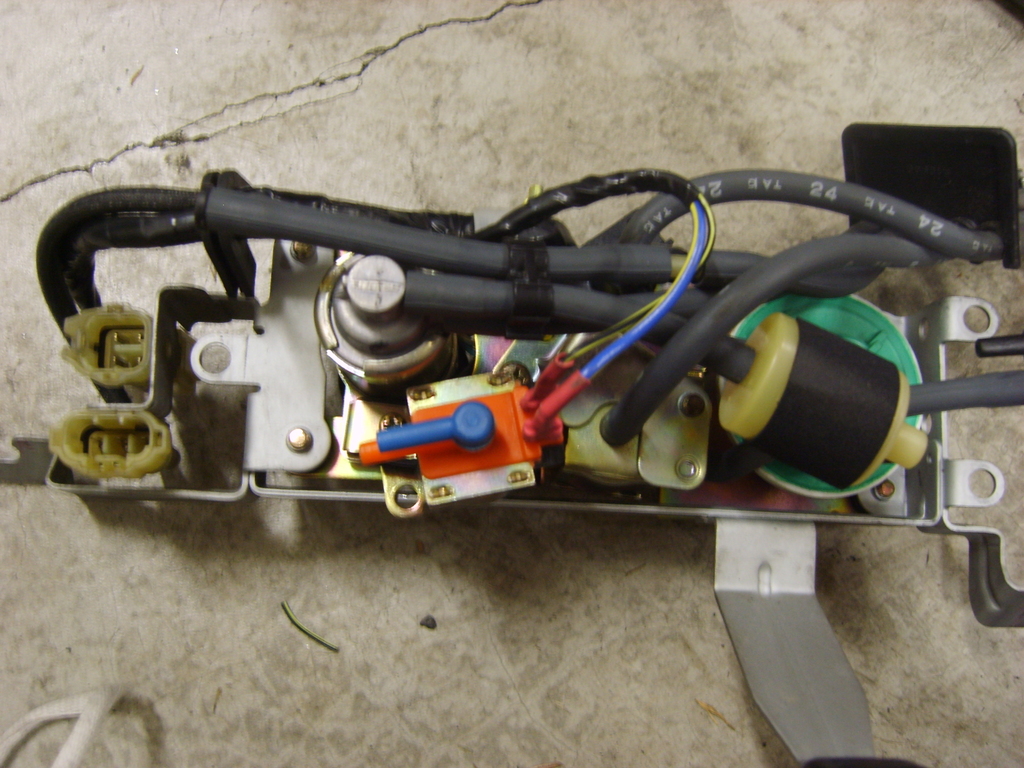
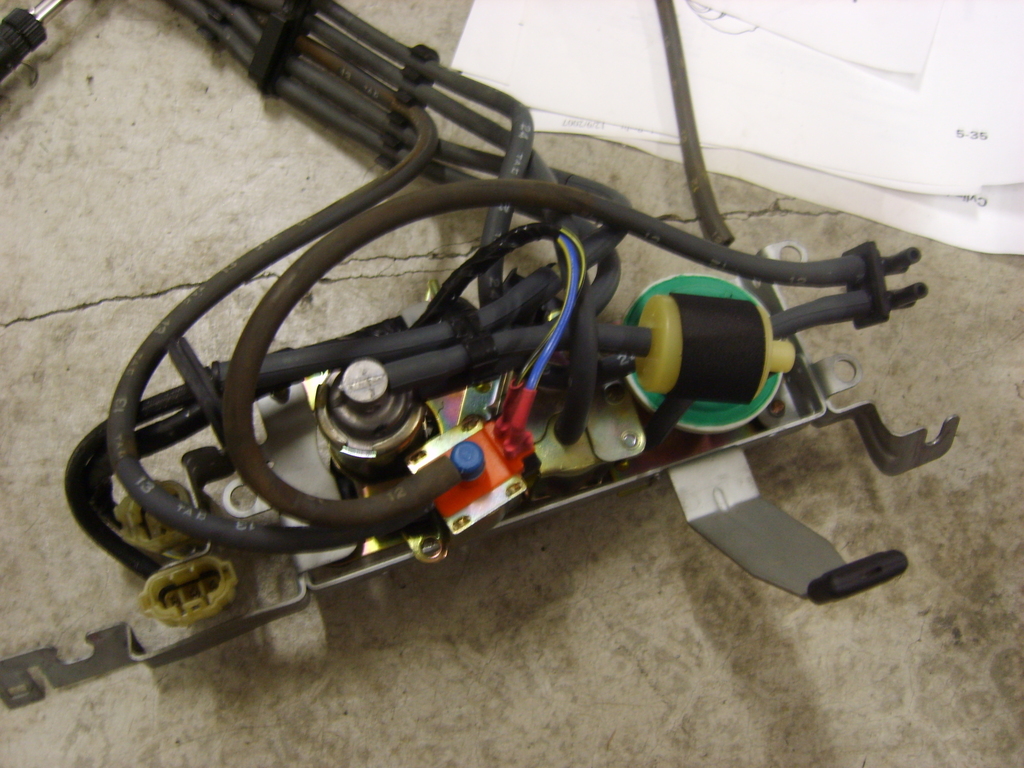
Remove the box from the firewall and open it up. This picture shows the added IAB solenoid already installed at the bottom. This is the only place I could find to mount the solenoid so everything would fit in the box, retaining a factory appearance.
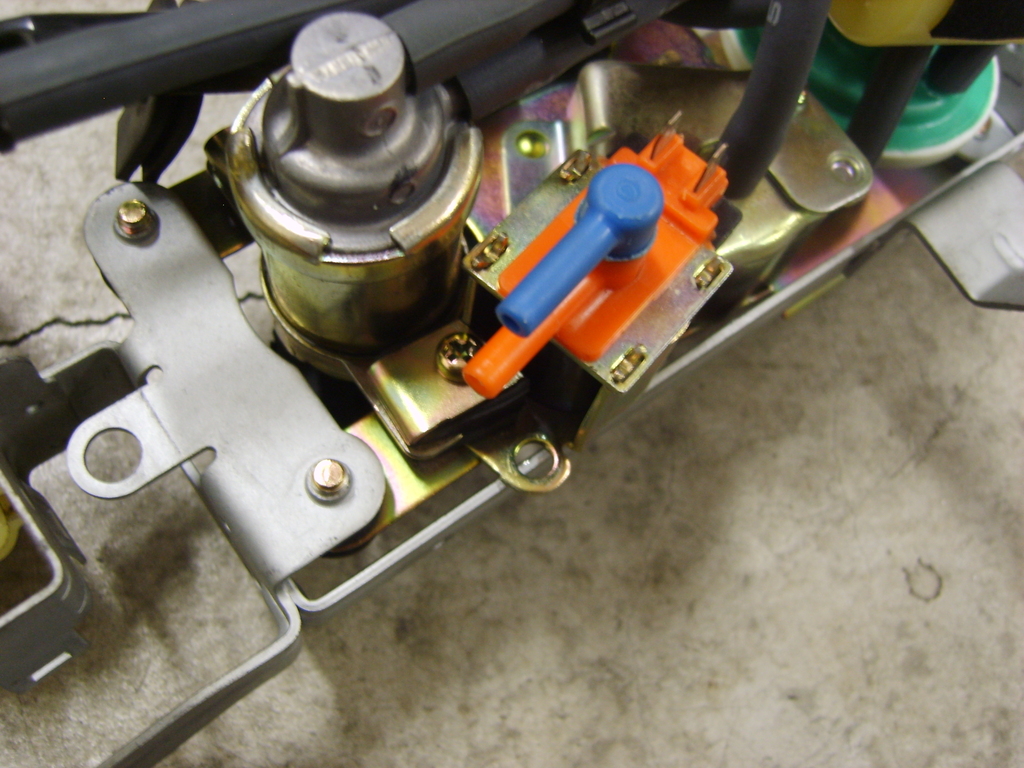
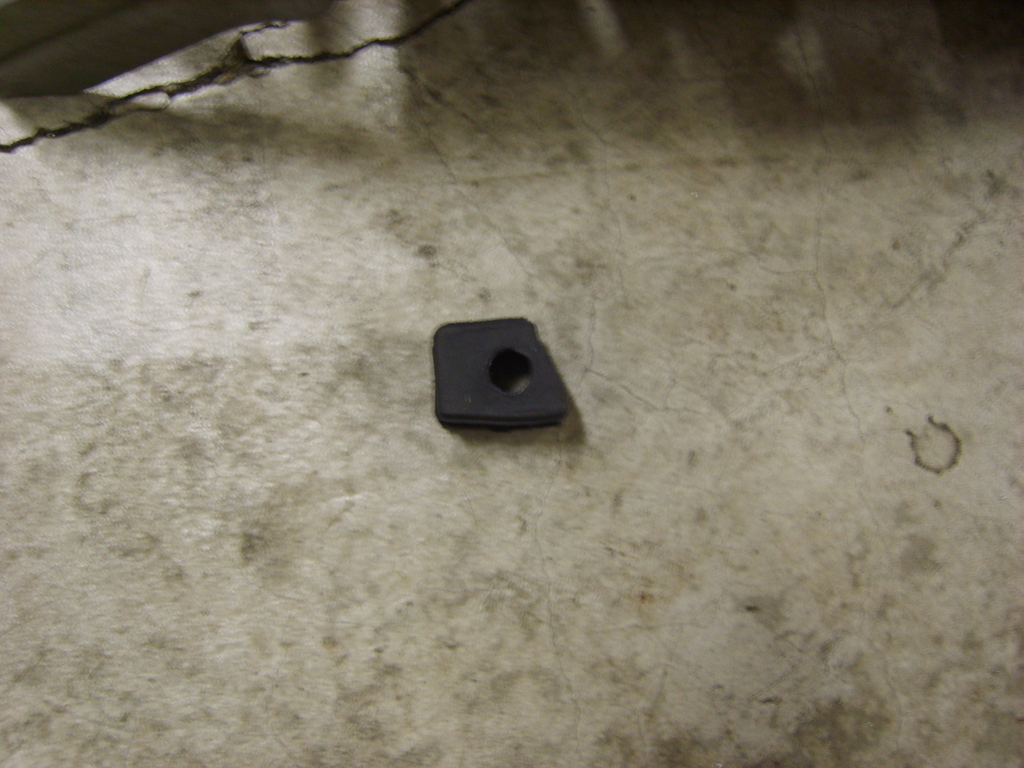
Remove the screw, upper plate and rubber mount. The screw in the picture is located just to the left of the orange part of the newly installed solenoid.
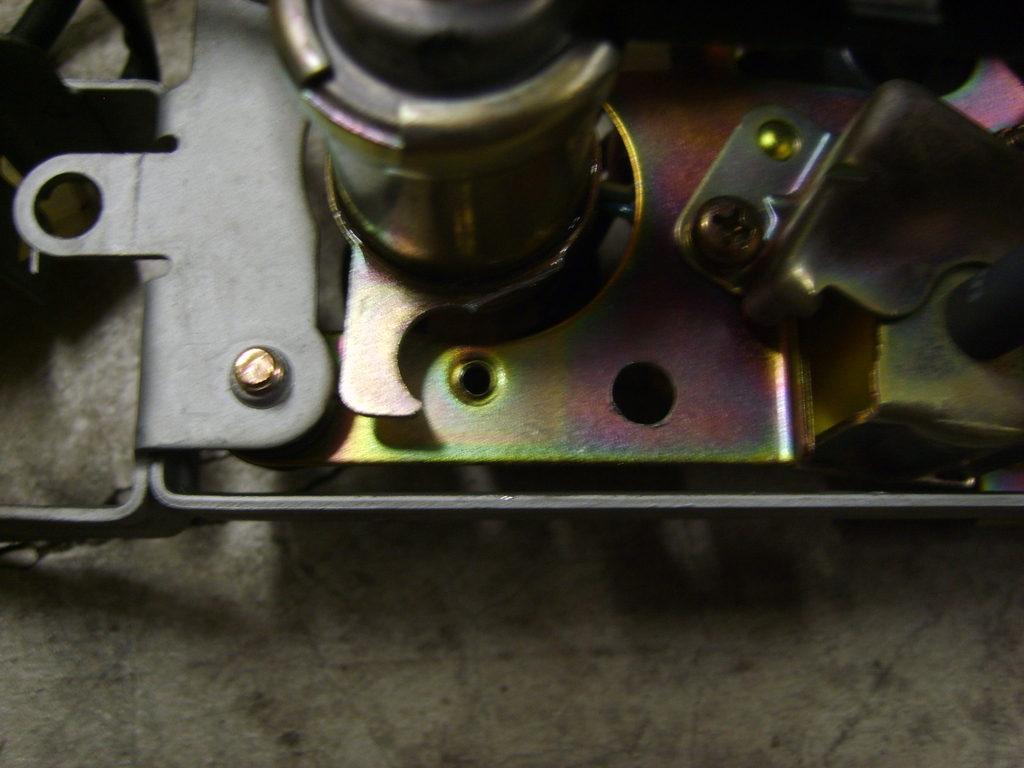
Modify the bracket as shown. Also, drill the hole as shown in the picture to the right of the screw hole. Some trial and error may be required here to get the solenoid to fit!
Modify the rubber mount as shown.
Install the solenoid as shown. The "filter" part of the solenoid will pass through the hold that you drilled.
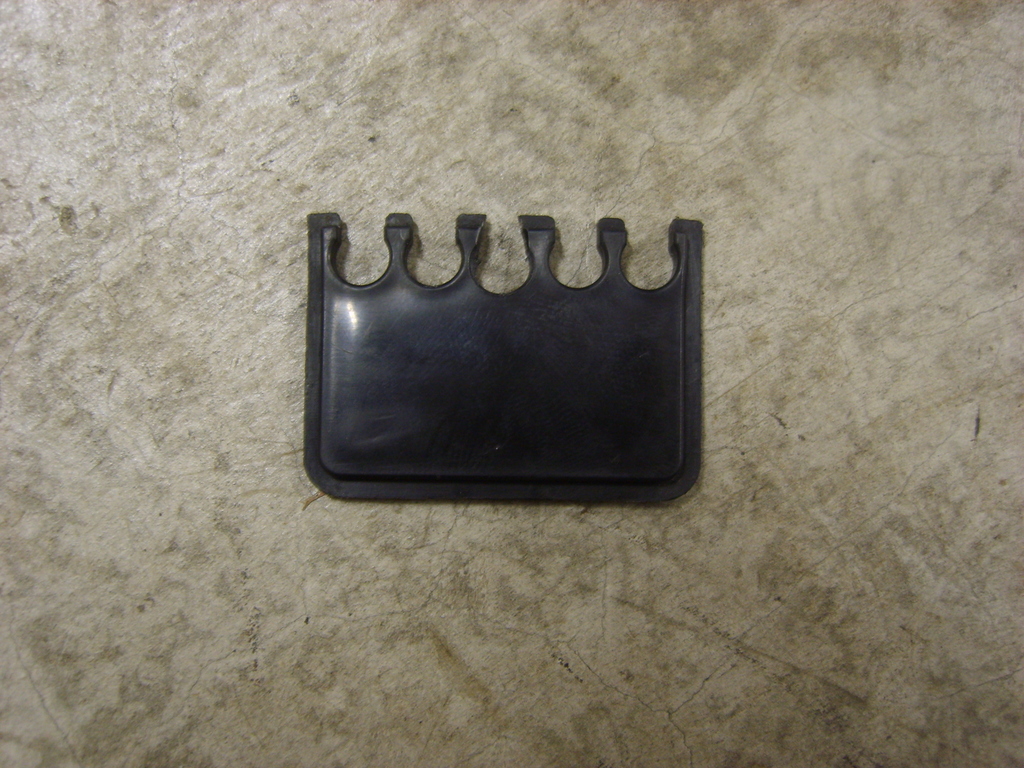
Pull this piece off of the hoses that pass through the box and drill the hole in the middle as shown.
Now, add the hoses. I'm not sure the orientation of these hoses matters, but I ran the hose from the blue side of the solenoid to the empty connector on the two hose connector. The orange side runs through the hole you just drilled in the last picture.
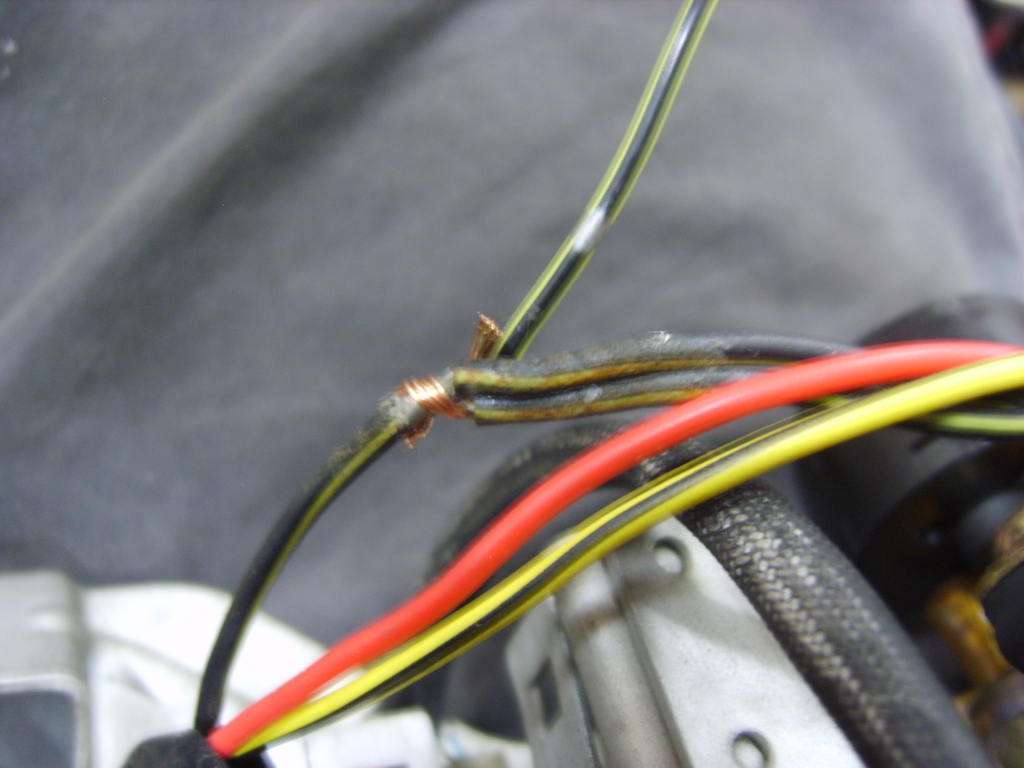
Now for the wiring. Remove the stock wiring cover and find the Black/Yellow wire. There is a splice somewhere in there. Add another wire to this splice to run to the solenoid. This is the power wire. Again, I don't think the orientation of the wires is going to matter. Run a wire from the other side of the solenoid to the empty terminal in the 4 pin connector going to the box. I was lucky enough to find a pin in my mess of extra Honda stuff that would fit here. You may want to take this connector from the donor vehicle as well.
Almost done!
Sorry, no pics of this. Run a wire from the other side of the 4 pin connector to terminal A17 of your IAB ready ECU. Again I was able to find a terminal to fit here. Grab one at the junk yard.
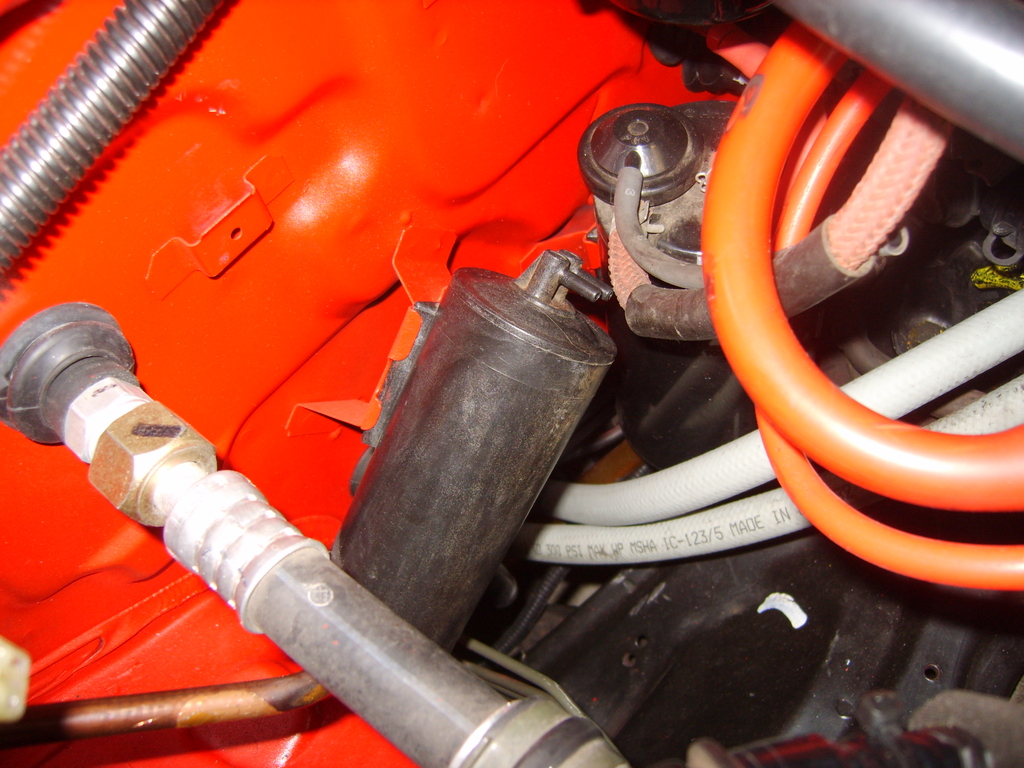
Look at this! A factory location to install the vacuum canister! Go ahead and put it in!
Now run a hose from the two hose connector on the side of the box to either side of the vacuum canister. The other side of the canister will be connected to one of the vacuum lines running to the intake plenum via a "T" fitting (which I also found from my donor vehicle). The check valve will be installed in this line. Make sure you install it in the right direction. You should be able to suck through the plenum side of the valve. When you try to blow through the plenum side, it should not let you.
The hose coming from the plastic piece that you drilled the hole in will go to the IAB actuator on the manifold.
That's it! Enable IAB's in the rom you're using (Uberdata, Crome, etc.) and enjoy!