if you have a way to clean all the old grease and dirt out of the assembly, a vice, and some basic tools.
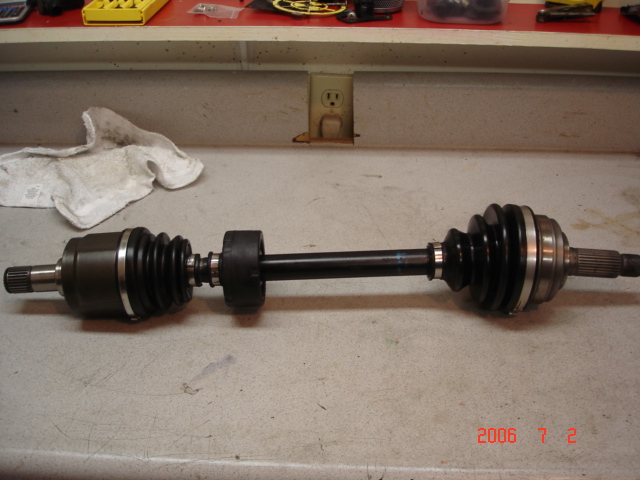
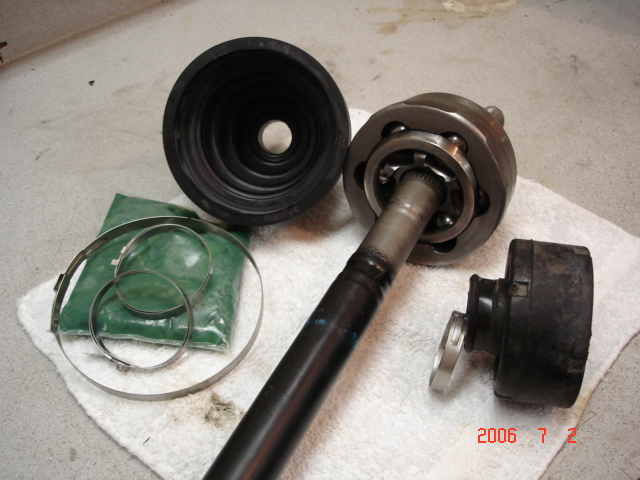
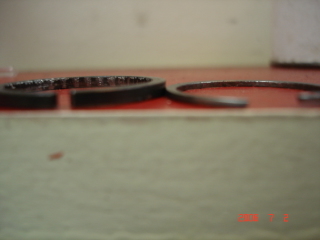
Both of my CV joints had the boots torn. The wheel side of the CV joint is not supposed to be disassembled
per the manual. The differential side does come apart. The boot on the differential side of the CV joint
is all that is holding that joint together. So if that boot is torn be careful not to let it fall apart when
removing it from the differential.
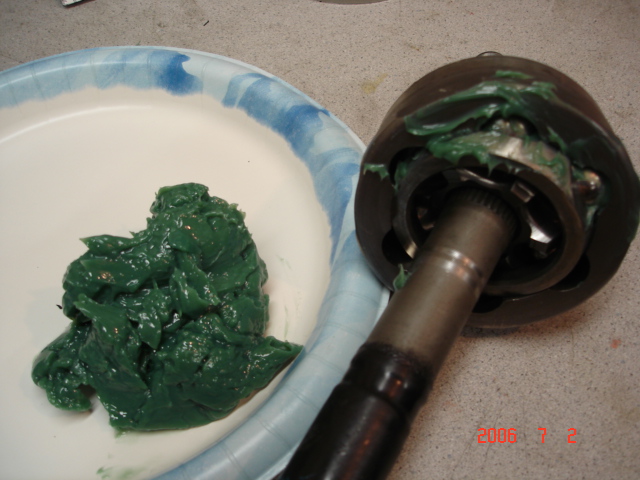
I bought my replacement repack/boot kits from NAPA Auto Parts. It included the boot, the bands,
new circlips and the grease. The kit did not come with the new band needed to re-install the damper
on the shaft. NAPA had these available separately pretty cheap.
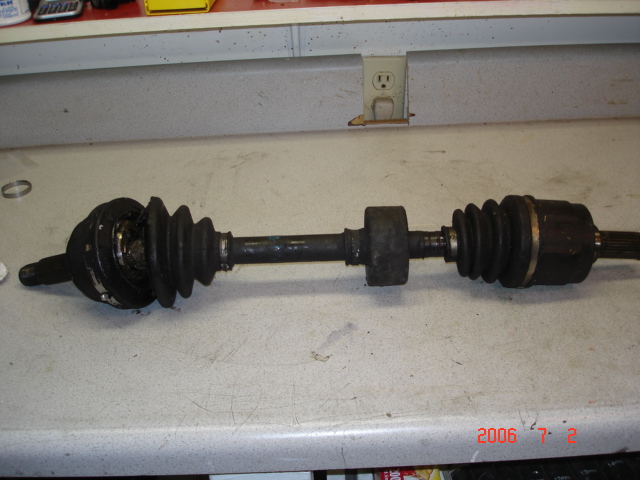
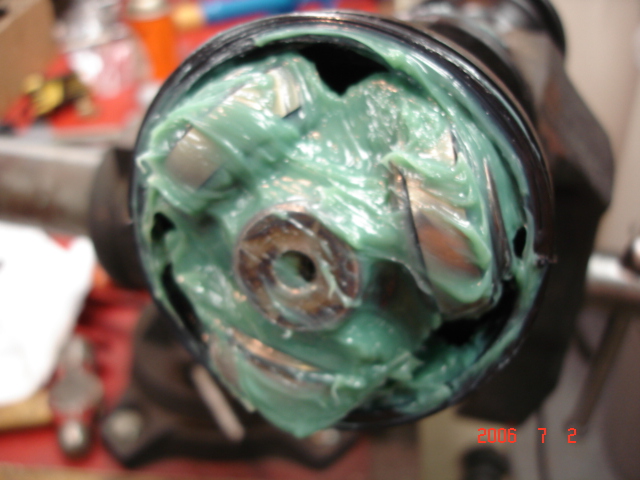
This is the differential side or (inboard side). The manual wants you to mark EVERYTHING before taking
it apart so you can put everything back into the original place on re-assembly. This is not a bad
idea in principal to get wearing surfaces back to their original position but to be honest, I chose not
to do it. I just found it hard to believe this was such a big deal in this case. This is not like a finely tuned, super high rpm component. Furthermore I didn't find any signs of wear on mine. Balance/vibration might be a problem if I would have found uneven wear etc. but if I would have found that I would have replaced the whole thing anyway. There aren't any balance marks on these parts either. I just couldn't see the point. I'm not saying you should not do it. It can't hurt. You might say I decided to gamble and see for myself for experience sake if this causes a problem. I doubt it. I'll let you know later after installing and running them in the car if I encounter any problems. (Its now later... Dec 2nd 2006. Smooth sailing so far. Been up to 100mph. No vibes).
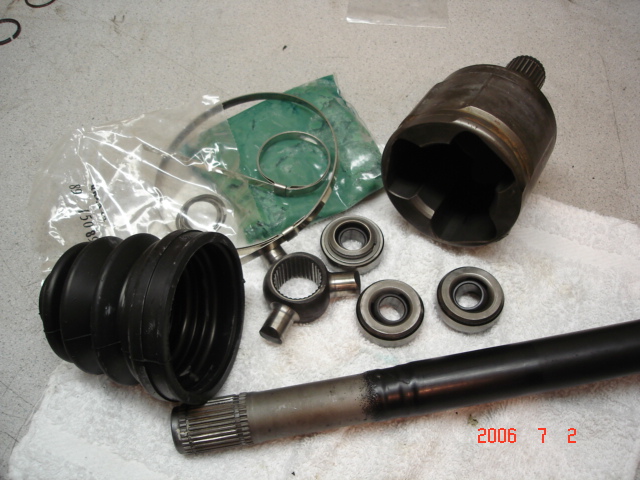
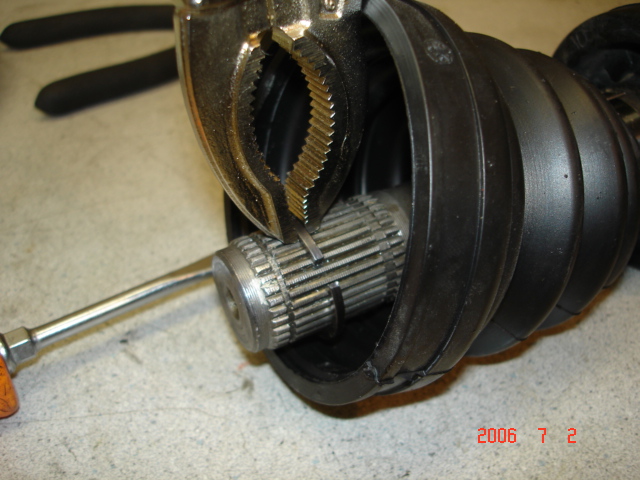
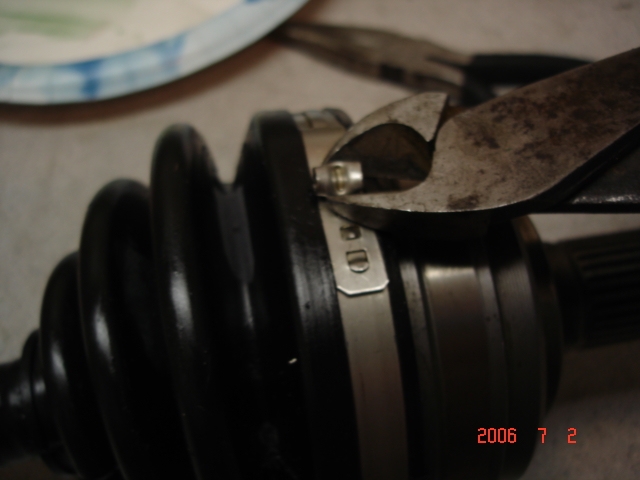
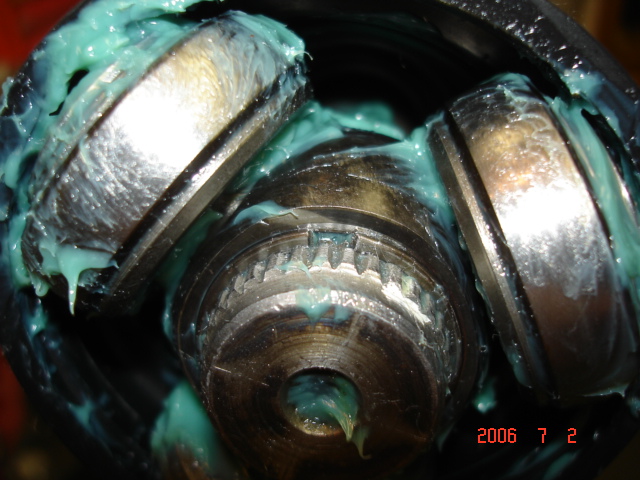
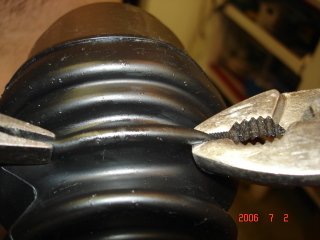
Remove the circlips on the inboard joint to remove the spider. The outer circlip and spider have already
been removed in this pic. What I'm actually doing in this pic is putting this circlip back on before I put
the spider on. I just wanted to show what tools I used to work with the circlips. I'm pulling up slightly
with the vise grip as I push the circlip on with a screw driver. Works ok putting on or taking off the circlip.
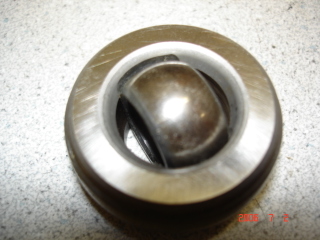
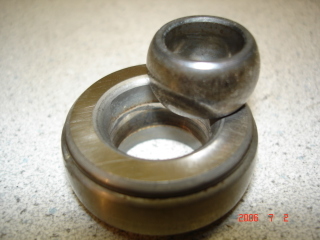
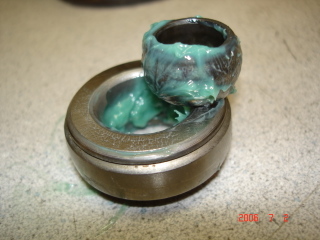
This is the wheel side (outboard side) It is not supposed to be disassembled per the manual.
Clean and Inspect all the components. Replace if any galling or pitting of bearing surfaces is found.
Rotate each ball for inspection in a position like this.
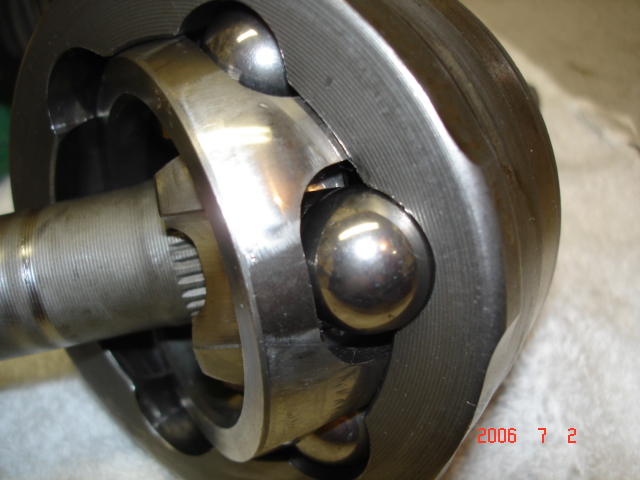
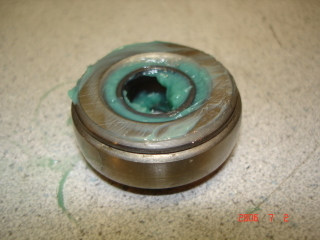
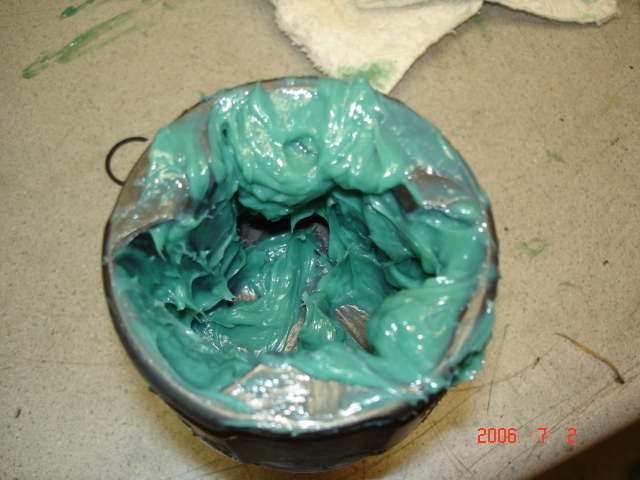
The rollers on the differential side (inboard side) come apart for inspection and repacking with grease.
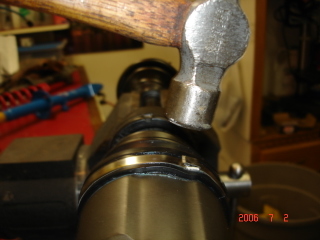
Repack the outboard side first. This boot has to go on first.
As with repacking any bearing, find a way to force the grease inside the bearing until it comes out the
other side like so.
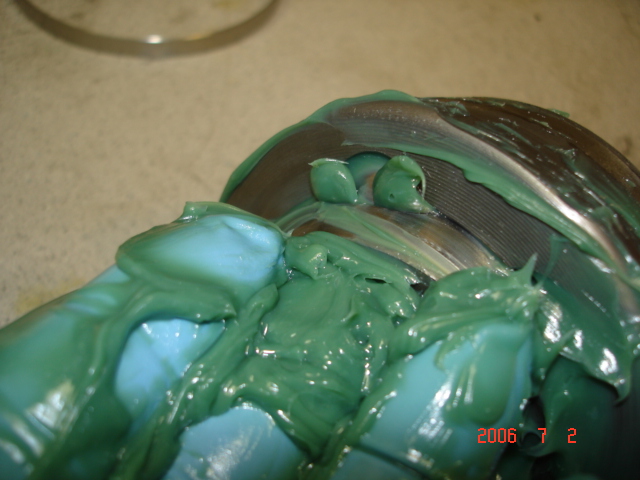
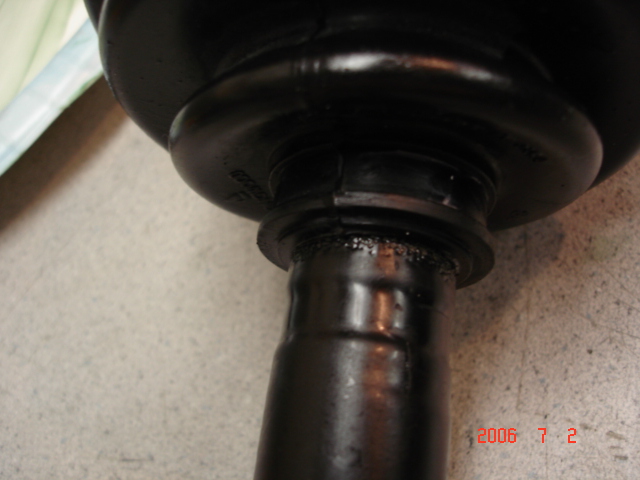
After completely packing the bearings spread the remaining grease inside the boot closer to the large
end of the boot. Slide the boot over the shaft onto the joint and secure with the clamp.
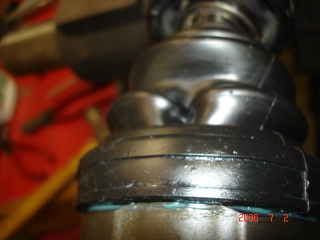
NOTE: Be careful not to let the clamp slip off of the groove of the boot as you tighten it. It will
close to be too small to get back onto the groove. I spent a lot of time loosening a clamp back
up enough to get it back onto the groove of the boot. This particular type of clamp does not
move easily sometimes.
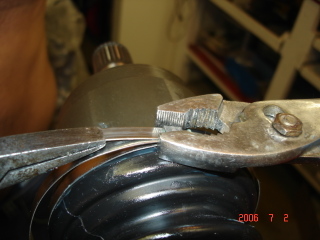
There are a couple different types of clamps. Some are easier to work with than others. I was having
a little trouble with these getting stuck as I was trying to tighten them. Here are a couple pics that
show me working with these clamps.
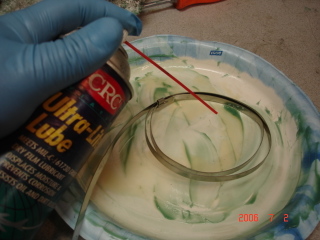
Lube everything
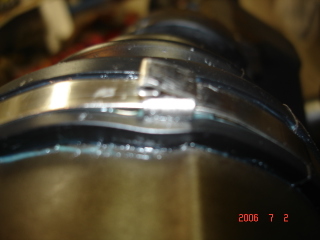
This is the type of clamp I prefer. You ratchet it as tight as you can by hand and then just crimp it to
tighten it further. Simple.
I didn't like the new circlip that came with the inboard boot kit. It wasn't as thick as the original.
I inspected and re-used the old one. The thin one would have been worse than using the old one
because the new one wouldn't even fill the width of the groove. This is my only complaint using
the NAPA kit. If the circlip does not fit snugly on the shaft take it back off an slightly compress it till it does.

Don't forget to install this circlip
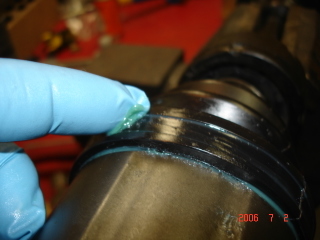
Note the groove in the shaft for the placement of the boot and clamp.
Be careful to not damage the boot.

Done