Well, I spent last night putting on my suspension. I spent from 8 last night until 6 this morning getting these on here. So read up, enjoy and learn from me.
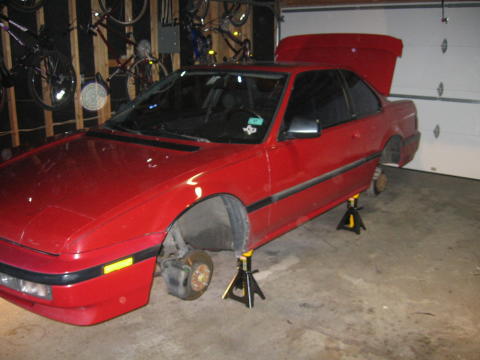
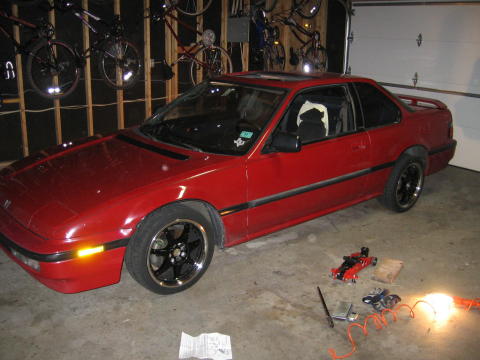
First thing we did is put the car in the garage and get the car up on stands and pull off the wheels.
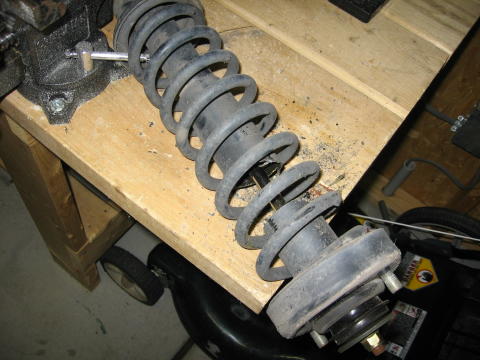
Then we pull off the the shocks for the install. Here is a picture of the old and new front and rear set up.
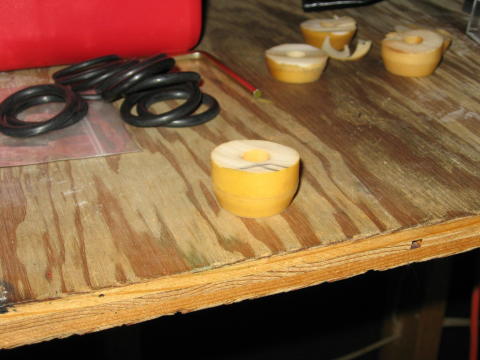
Then we prepared the bump stops for install by cutting them in half.
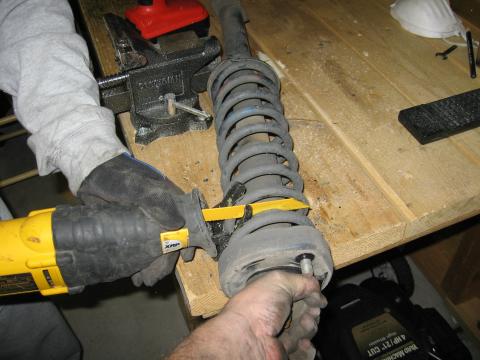
MC'S NOTE: I don't condone the following method of decompressing the spring, if you still decide to do it like this don't come blaming me if someone gets hurt or you break something. The proper way would be to get a spring compressor from an auto parts store to take the pressure off the spring so you can remove the nut.
But of course we needed to get the top parts of the assembly because those parts are going to need to be reused. Since we don't have a spring compressor, we did what all people with a purpose do. WE CUT IT!!!
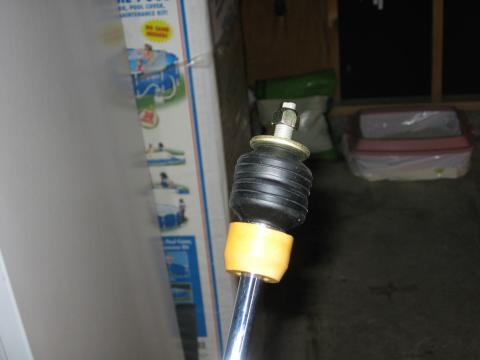
Now that the shaft is exposed, you take a pair of vise grips and grasp it good. Then you unscrew the top screw so you can gain access to the rubber top mount. WARNING: WHEN DOING THIS, THAT BOLT WILL SHOOT OFF WITH A PURPOSE. MAKE SURE YOU DO NOT HAVE YOUR HANDS IN THE WAY WHEN IT DOES. ALSO HAVE A PLACE TO FIRE YOUR BOLT TO.
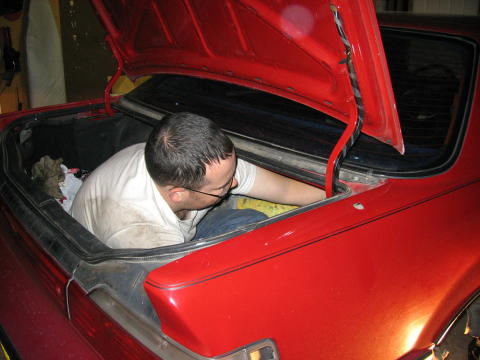
So we get back to work installing the suspension. Here is me in the trunk working on the back assembly.
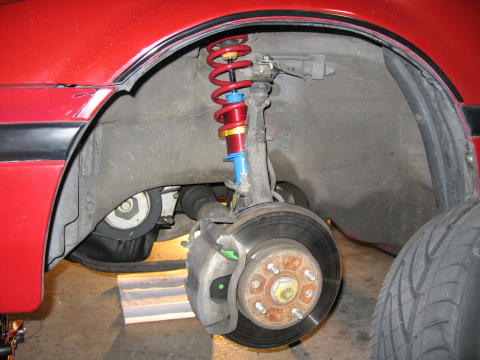
And here is a pic of the front one.
As you'll notice, I installed my Ingalls Camber Kit at the same time. The front studs aren't too bad to take out. Just get a board to put under stud on the upper arm part, then wack it like a wack a mole. The board pops out the stud.
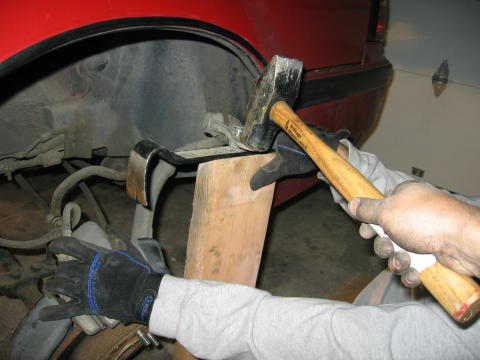
Now, the rear studs are quite a bit different. You will need to perform the inverted hammer thrust. See pic.
Put the bolt back on and support the back part with a board. Them SMASH the bolt and it pops right out.
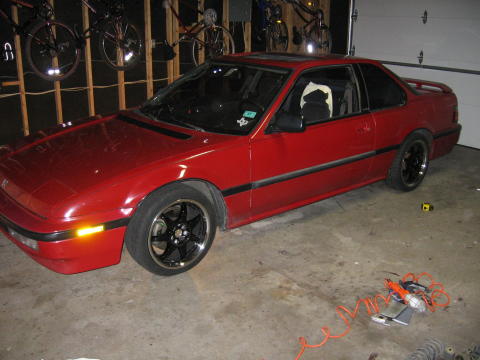
We tightened everything down and put the car back on the ground. (Noticed the height of the back!)
Then I adjust the Ground Controls so everything is even and fix the camber with a handy level.
Then we take the car out for a drive and when we are on our way back from walmart for more batteries for the camera, we started hearing some noise. Oh Shit.
That sucked!!!!
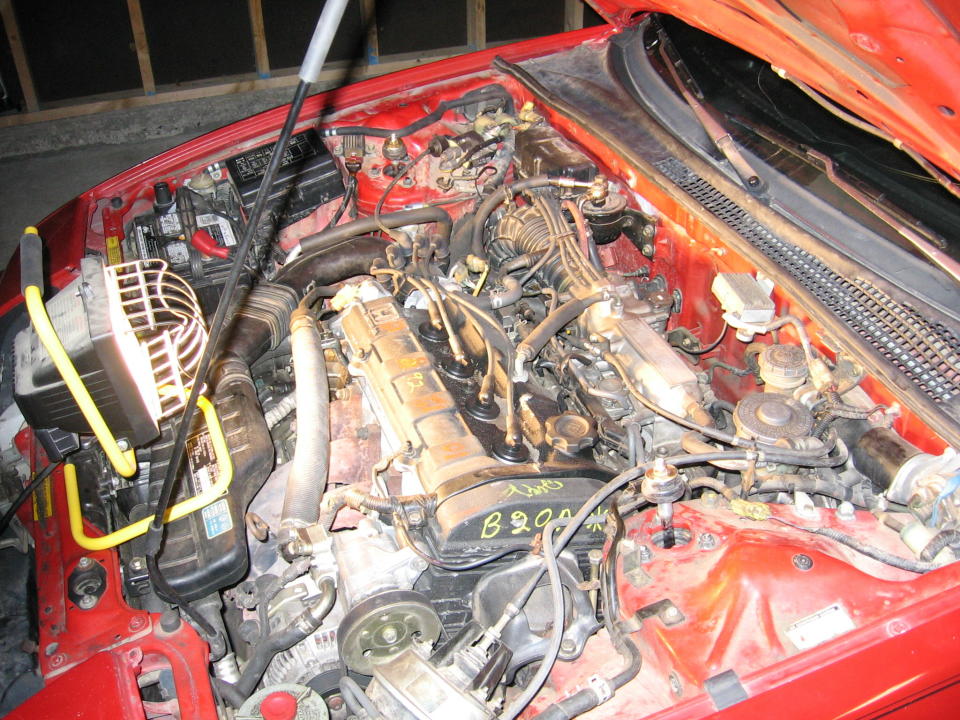
So, take it from me. If you are NOT using your shields, then you need to add a washer BEFORE your bushings as well as AFTER. Other wise the shock will push the bushing out through the engine. That washer transfer the force to the chassis. Don't make the same mistake I did. It took a couple of reinstalls to figure out the problem.
Anyway, here is a picture of the ground clearance. Its so low now that I can't use my jack without help. Somebody actually has to lift the car for the jack to slid under.
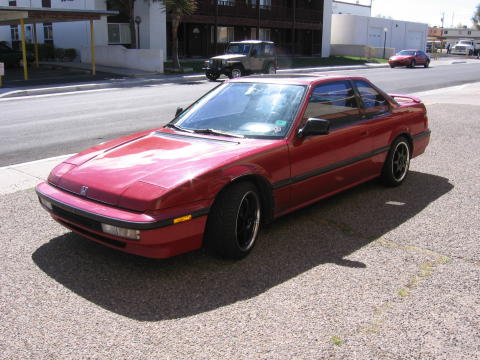
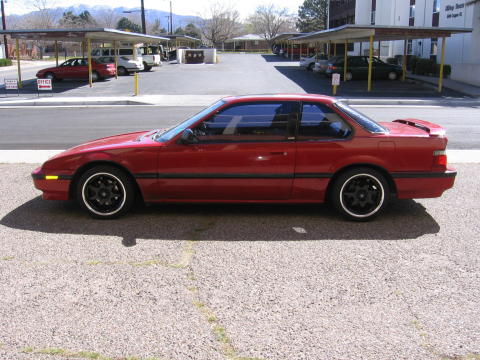
And finally, a couple of good day pics (sorry for not having it washed, but I am tired.)