I got tired of seeing dozens of incorrectly reassembled shock assemblies, and their owners complaining about the build quality of the parts they bought. (When, in reality, their problems were related to their assembly of those parts.)
Putting sleeve type adjustable coil-overs on Honda style shocks. (This works for other cars, as well as some struts, so follow along and you can probably figure out how to do on your car.)
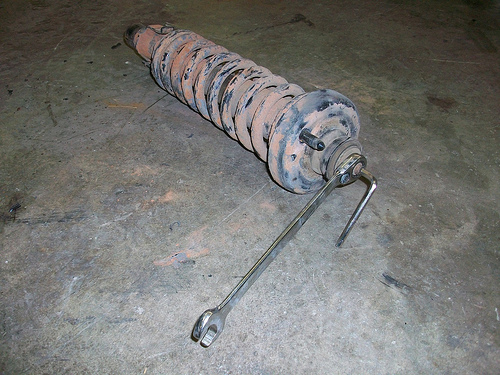
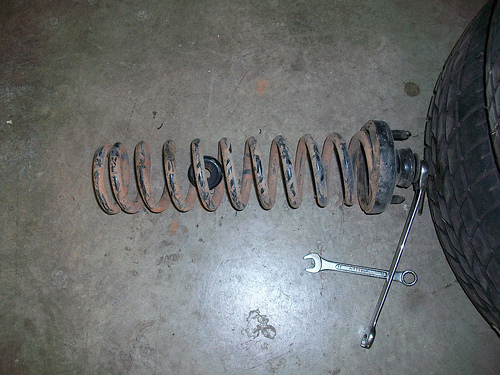
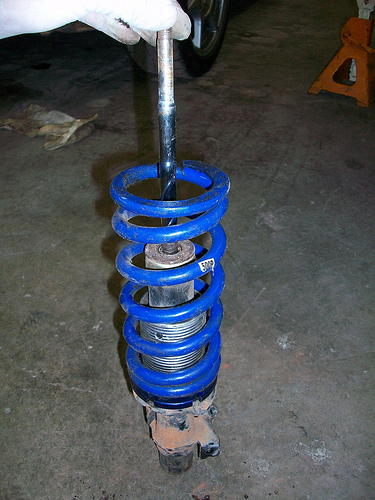
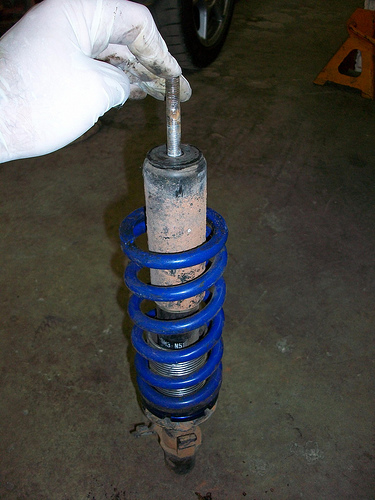
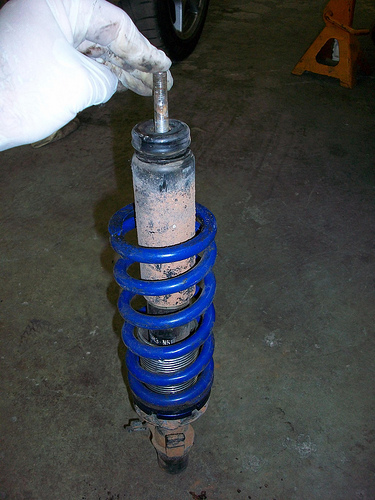
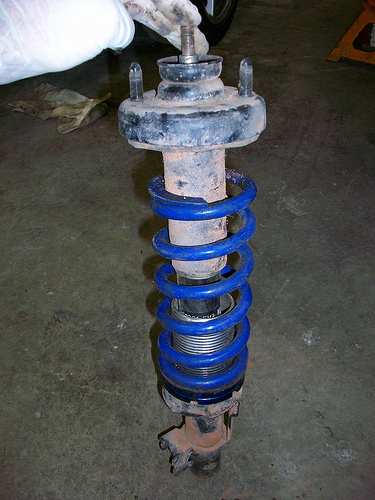
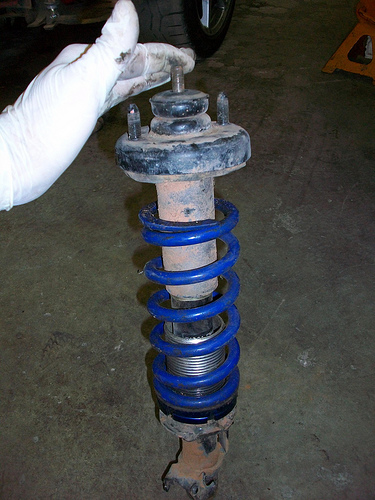
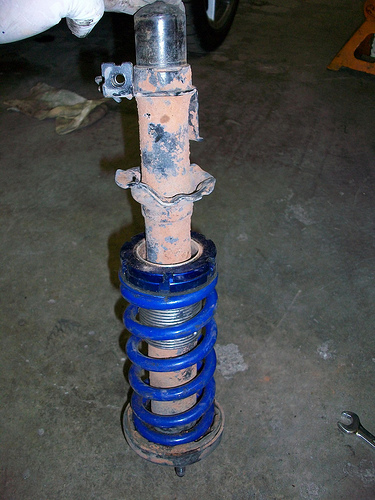
After you've gotten the shock assembly out of your car, it should look like this. Find the right combination of wrenches (In this case, a 14mm ratchet wrench and a 5mm hex wrench):
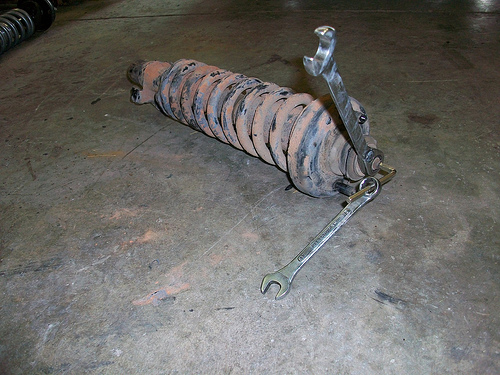
Perhaps your hex wrench is too short to be effective. Easy fix...a 12mm box end adds leverage:
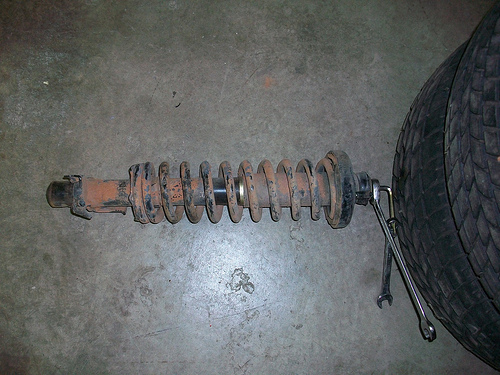
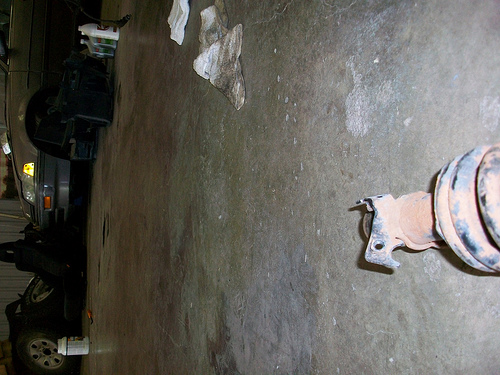
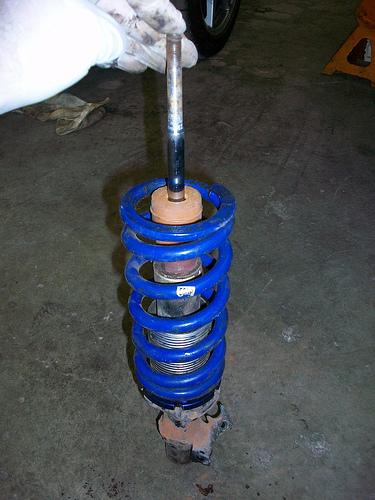
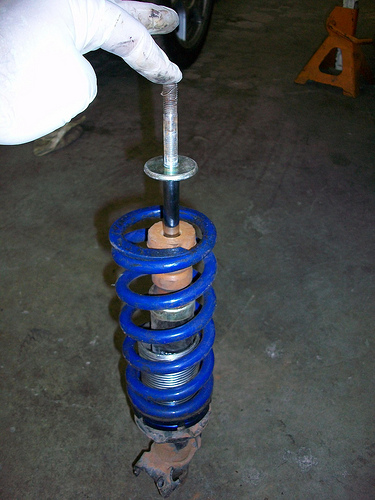
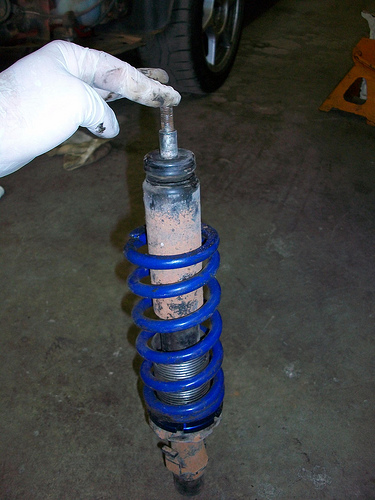
You probably don't have a spring compressor, and you are probably too cheap to rent a good one (If you can even find one). That's ok, find a sturdy object (wall, tree, pile of tires, your mother's glass jar collection):
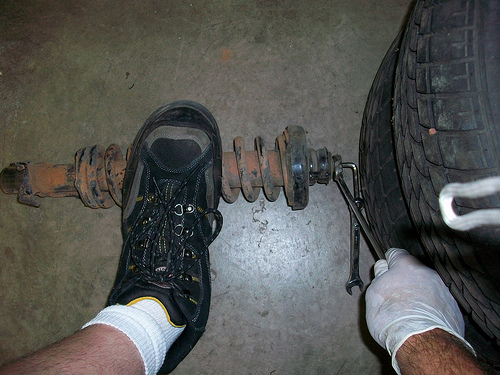
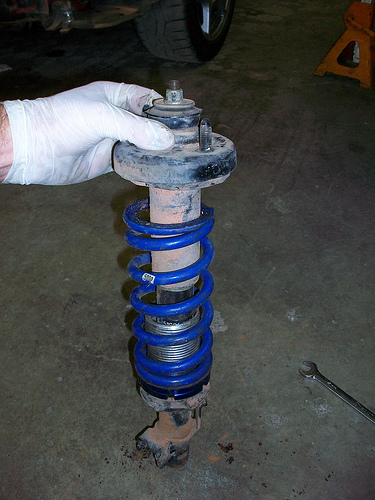
Hold the spring in place with one foot, run the wrench with appendage of choice:
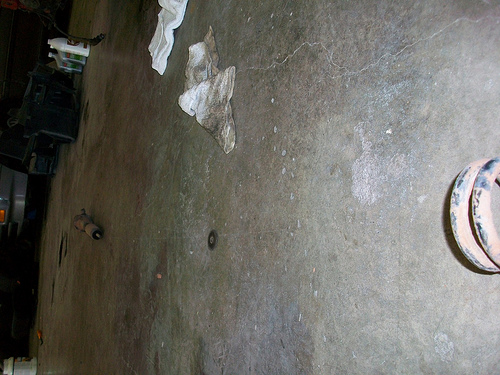
ba-kAAANNGG!!
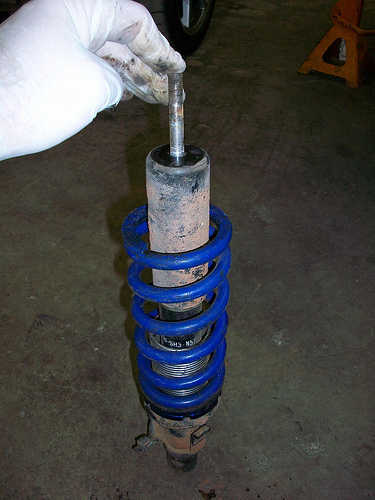
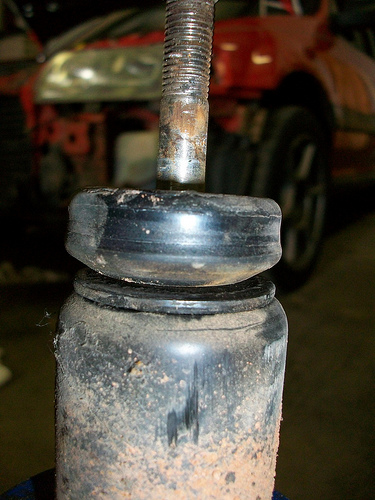
What once was clear:
Now has a projectile in it:
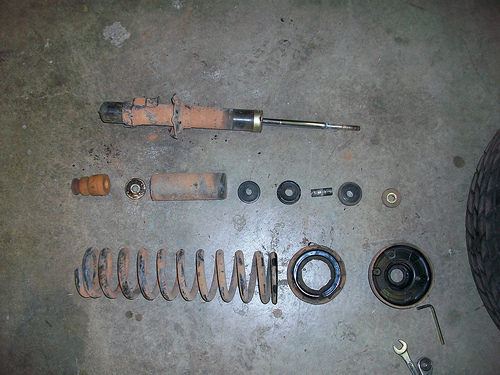
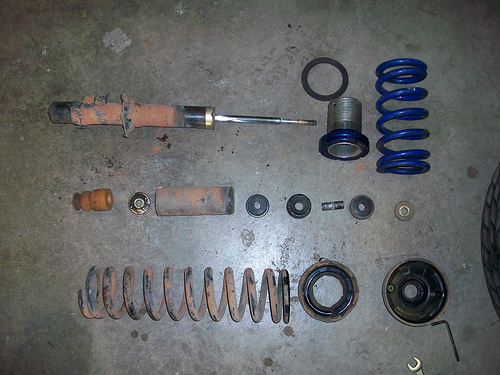
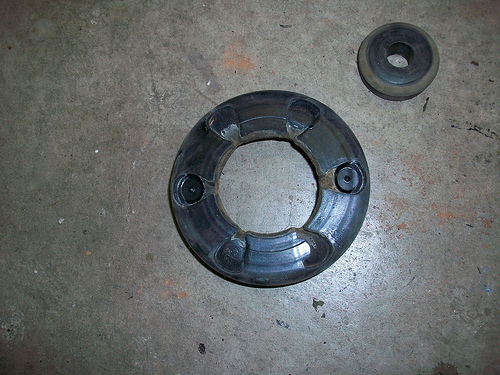
Once you gather up all the parts (and clean them), get them organized:
Find your aftermarket spring stuff:
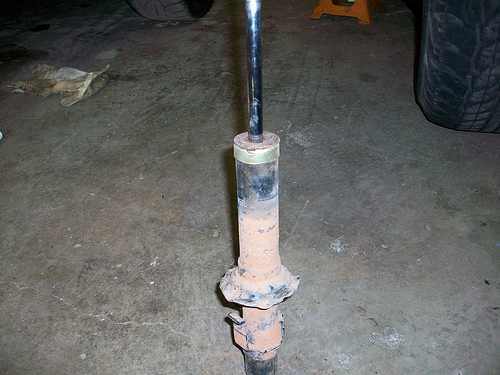
Now the assembly begins. Step 1 - bare strut:
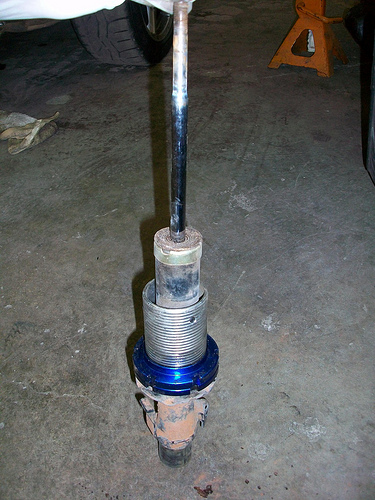
Step 2 - Add adjustable sleeve (use set screws at top to center the sleeve) if you have some rubber o-rings to fill up that space, now would be a good time to install them.:
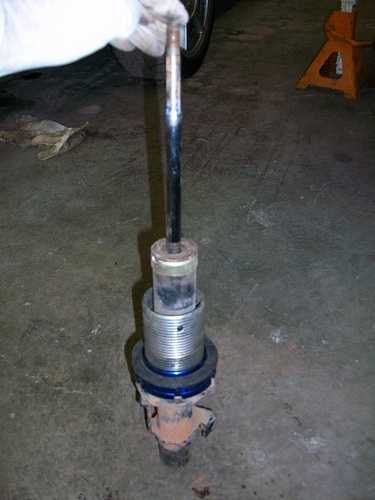
Step 3 - Rubber spring seat:
Step 4 - Spring:
Step 5 - Modified bump stop. I usually cut them in half to start with. Use the lower (progressive) half:
Step 6 - Load bearing washer (gold) this only goes one way, so use it that way:
Step 7- Modified dust cover. I usually cut this in half as well (or I trim off the rubber part if it's half and half.) make sure that it won't interfere with your perch sleeve or the centering hex screws. You might have to do without, but I would try to avoid that as much as possible:
Step 8 - Lower bushing washer (black):
Step 9 - Lower bushing. it cups up:
Step 9.5 - See? cups up:
Sep 10 - Shock bushing tube (pushes down to that black washer):
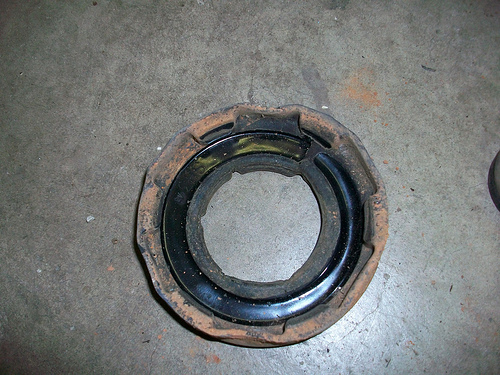
Bottom side of spring mount, see that notch where the old spring ended (about 1 o'clock)? Keep an eye on that:
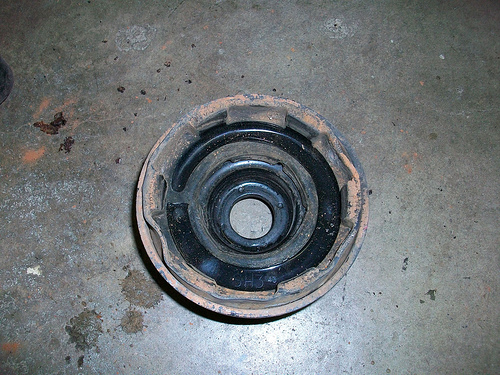
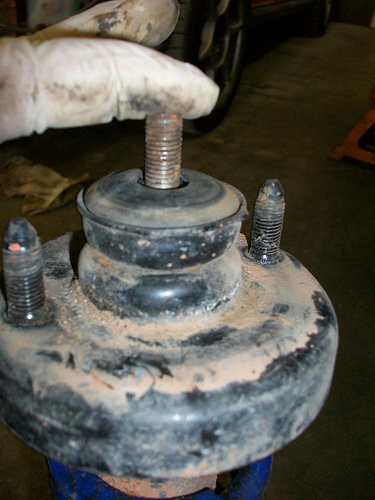
Top side of spring mount. See those two well defined circles (3 and 9)? That's where the studs from the mount go. Locate them properly:
Step 11- Spring mount in shock mount:
Step 12 - Strut mount:
Step 13 - Upper bushing. It cups down:
Step 13.5 - See? Cups down:
Step 14 - Upper bushing washer (silver) it cups up:
Step 15 - Shock nut. tighten to specs. You are pressing all the metal parts together, and tensioning the rubber bushings:
Step 16 - Stand strut on its head, and put the end of the new spring in the divot made by the end of the old spring:
Step 17 - Stand strut back up and adjust perches to take up the slack and preload the spring:
Put the assembled shocks back in the car, put the car on the ground. Bounce the car a few times to get everything to settle. Loosen all the bolts in the upper and lower control arm bushings to allow them to twist freely.
Lower the perches to set the height where you want it.
Once you are satisfied with the height, tighten the control arm bolts to lock in the bushings.